There are three ways to create a Commitment document:
– From the Project Dashboard – use this method for a stand-alone Commitment
– From an RFQ document – use this method when you want the Commitment to be based on an Awarded RFQ
– From a Change Order document – use this method when the Commitment is part of a Change Order workflow
To create a Commitment from the Project Dashboard:
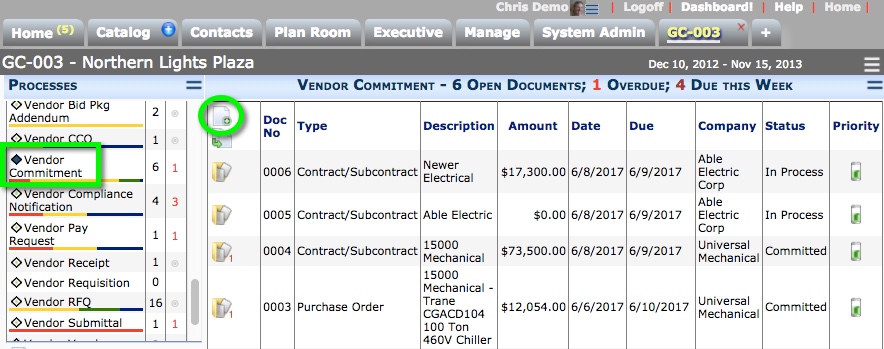
- From the Project Dashboard, select Vendor Commitment from the Documents list, and click Add.
- Change the Description to something more explanatory of the commitment/subcontract.
- Look up a Vendor. You cannot set the Status to Committed without a Vendor.
- Select a Commitment Type from the drop-down list.
- Select a Contract Type from the drop-down list.
- Complete the remaining fields on the Document Header.
- Save the document.
- (optional) On the Details tab, enter a Retention amount or percentage for each item.
- (optional) Select a Tax Handling from the drop-down list.
- On the Dates tab, edit the Start and Finish Dates. The Project Contract dates appear by default.
- On the Items tab, add your item(s).
– If your site is integrated, each item should have a Cost Code, Account Category, and GL Account. You will not be able to change the Status to Committed without this information. - On the Compliance tab, learn if you need to enter compliance information.
- (optional) Add/Edit information on the other tabs if necessary.
- If an Attachment template has been established for this Doc Type, the Attach from Template icon will appear on the Attachments tab. Click the icon to create the printout for the Commitment.
- Either route the document or Save and Close.
You can reopen the document as needed to make changes.
– Change the Status to Pending and then Committed if an when appropriate. Once the Commitment is Committed , changes to Items are made through CCOs.
Commitment Actions and Options Menu Notes
- The information note at the bottom of the menu will note is the Vendor is out of compliance.
- After you have Change Orders associated with this Commitment, the Change Order Log option opens the “Spitfire CCO Log”.
- The Commitment-vs-Budget option opens the “Commitment Budget Comparison” report.
- If you are set up for Compliance tracking, the Compliance option opens the “Compliance Exception Log”.
- After you have Pay Requests associated with this Commitment, the Pay Request Log option opens the “Spitfire Pay Request Log”.
- If you have approved Pay Requests for this Commitment, the Payment Detail option will open the “Payment Detail” report, which lists information about the checks used to pay the Commitment.
Statuses for Commitments
Initially the Status drop-down offers the following choices: In Process, Canceled, Requisition.
- Once you enter information and save the document, the Status drop-down offers new choices: Committed, Pending.
- Use Pending or Requisition to indicate the Commitment is ready for consideration or approval.
- If the status is set to Committed, the Commitment document, when integrated, appears in Microsoft Dynamics SL (Contract Management Module).
- The Commitment must be Committed before you can create CCOs. In addition, the Status drop-down list offers a new choices: Canceled, Committed, Completed.
- Canceled and Completed are final statuses, which “close” the document. When a Commitment is Canceled or Completed, it can no longer be changed.