Once a project has an approved budget, a Forecast document can be created at any point during the project’s life cycle.
To create a Forecast document:
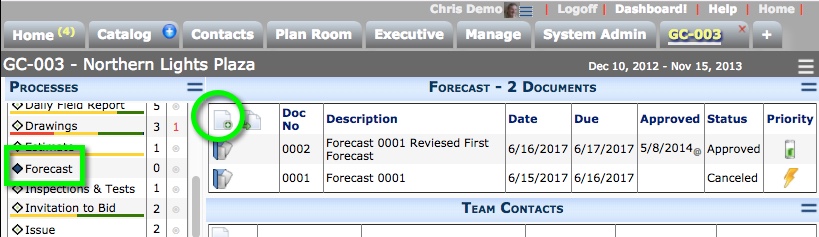
- From the Project Dashboard, select Forecast from the Documents list, and click Add.
- (optional) Change the Description.
- (optional) Change the Period if you want to post to a different fiscal period.
- (optional) On the Notes tab add any relevant information.
- Save the document.
Note: The Excel icon will not appear until you save the document. - Click the Excel icon to open the BFA workbook in Forecast mode. The workbook will show your budget’s latest snapshot data, including any approved forecast data.
- When you save and close the BFA workbook and return to the Forecast document, you will notice the Excel icon has changed.
- Add attachments and/or create a route, if necessary.
- Either route the document or Save and Close.
You can reopen the document as needed to make changes. You can edit the BFA workbook in Forecast mode as long as the document status is In Process.
Statuses for Forecast
By default, the Status drop-down menu offers the following: In Process, Approved, Canceled, Pending.
While the document status is Pending, you can make changes to the document but not the BFA workbook. The Status must be set to In Process to edit the workbook.