If your Project Setup document has one or more items, by default your initial SOV workbook is populated with those items. You can also use the Add New Rows option to add rows manually or use the Copy In option to input your SOV rows. The Copy In option appends to existing SOV rows.
The Copy In option is particularly useful if you have your SOV information in another Excel spreadsheet, already with headers and subtotals, and you want to copy all that information to your sfPMS SOV workbook.
Note: Because the Copy In option appends new rows to the end of any existing rows, and was designed to facilitate the input of many rows of data, you may find that the Add New Rows option is the better choice in some situations. Add New Rows adds rows one at a time, but allows you to add them throughout any existing rows. On the other hand, you can reposition rows brought in by the Copy In option by changing their Control numbers and sorting the rows.
To add or append SOV items through the Copy-In Option:
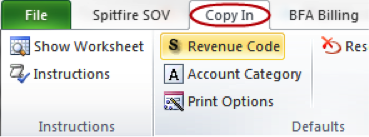
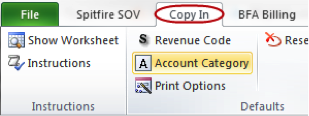
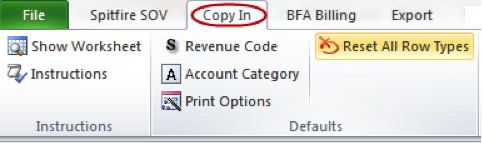
- Select the Copy In ribbon in the SOV workbook.

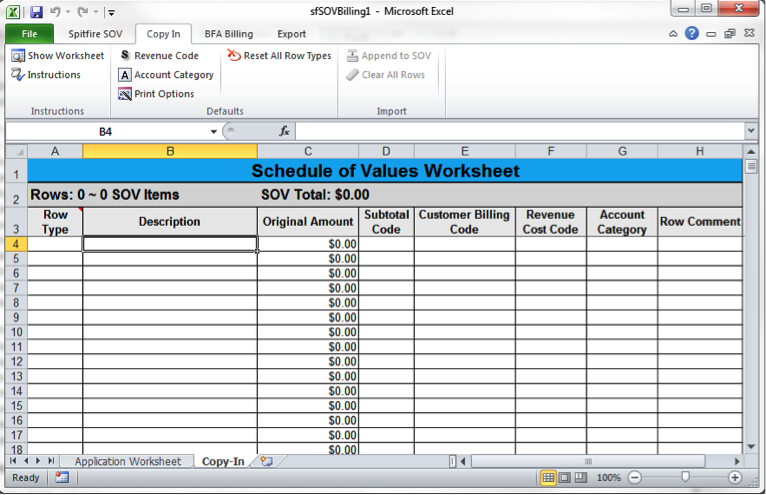
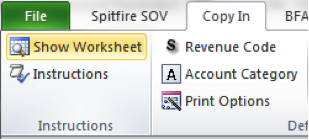
- From the Copy In ribbon, select Show Worksheet.
- (If not set up through the SOVConfig | RevenueWBCode rule) If you need to set the default Revenue Code for the SOV rows, select Revenue Code.
– Browse for the Revenue Code at the New Row Default dialog box that appears, then click OK.
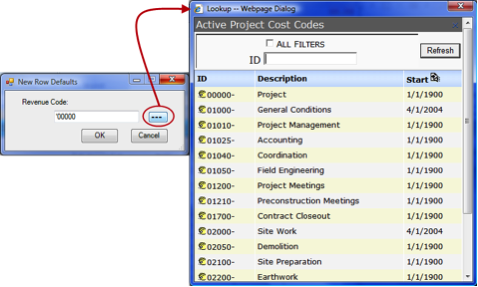
The selected code will appear on all the rows you add to the Copy In worksheet, except on rows that already indicate a Revenue Code. Also you will be able to manually override this Revenue Code for any rows necessary. - (if not set up through the SOVConfig | RevenueAccount rule) If you need to set the default Account Category for the SOV rows, select Account Category.
– Browse for the Account Category at the New Row Default dialog box that appears, then click OK.
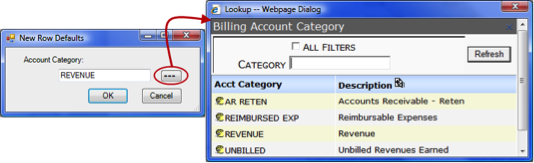
The selected Account Category will appear on all the rows you add to the Copy In worksheet, except on rows that already indicate an Account Category. Also, you will be able to manually override this Account Category for any rows necessary. - Either type your SOV rows in the Copy In worksheet or copy them from another Excel spreadsheet.
– Rows default to a type of SOV. If any row is a Header or Subtotal row, select the Row Type from the drop-down list.
Note: You need not enter a subtotal amount on Subtotal rows because any amount will be disregarded during the import to the SOV workbook.
– You should enter a Subtotal Code for each row to be added into the subtotal and for the subtotal row itself. The Subtotal Code is any five-character combination, but must contain at least one alpha character.
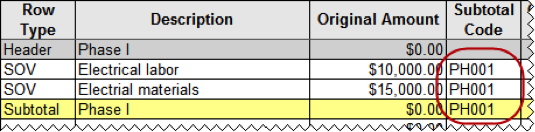
Note: The All prefix will be added to the subtotal row automatically during the import.
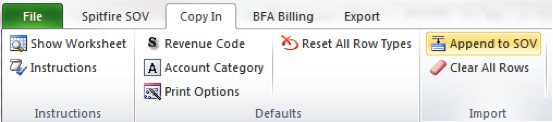
– You can reset all rows to the SOV type by selecting the Reset All Row Types option.
- (optional) If your SOV rows will include Headers and Subtotals, select Print Options.
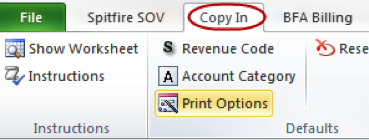
– Use the checkboxes on the New Row Defaults dialog box to indicate our print preferences for headers and subtotals, then click OK. - When all your rows are on the Copy In worksheet, select Append to SOV.
All your rows will appear on the Application worksheet, after any already existing rows. If you added subtotal rows and did not indicate a Subtotal Code for them on the Copy In worksheet, you will need to set up criteria for them and all related rows on the Application worksheet.
Note: If your Pay Application document has been configured to show the Items tab, you will notice that when the Copy In worksheet appends items to the Application worksheet, it also appends Items on the Pay Application document. These items will remain on the Pay Application document until they are deleted from the SOV workbook. If, however, you do not save the SOV workbook after appending items, the Items on the Pay Application will not be saved either.
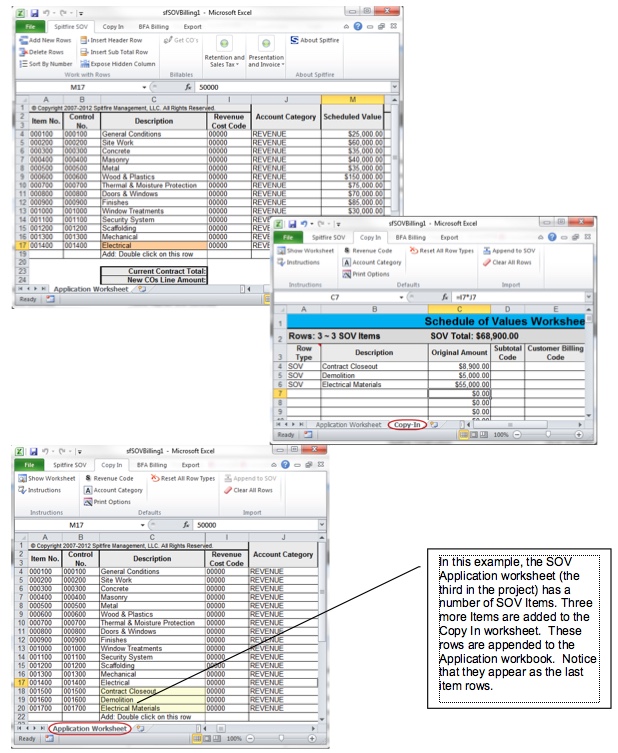
Example 1
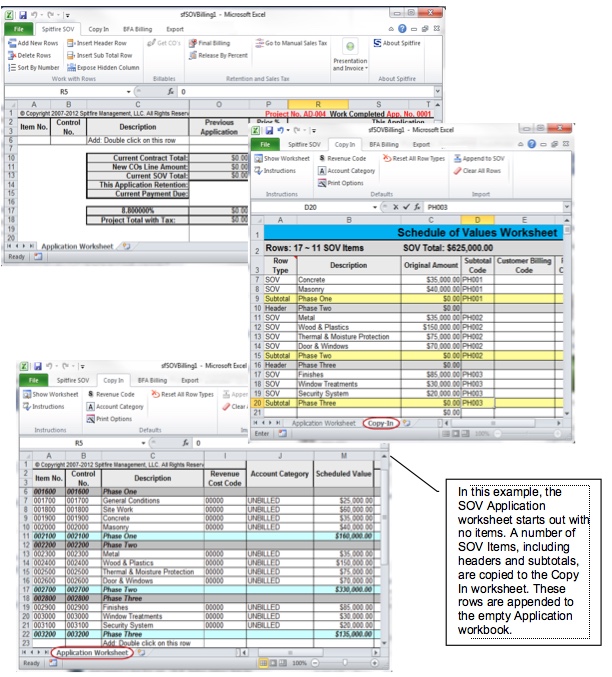
Example 2