Did You Know?
You can set up one or more markup percentages for the Budget Entries on CO Change Items, if you do not want to enter markups manually. The markup percentage takes the Expense amount and calculates the Revenue Amount for the budget entry automatically.

You can set up markups in two places in the system: the Change Order Markup tool on the Project Dashboard and the Allocations tool on the Manage Dashboard. Spitfire determines which markup to use based on Account Category and (if specified) Cost Code.
To set up markups on the Change Order Markup tool:
Note: this tool is project-specific. Markups set up through this tool apply to Change Items on the project only.
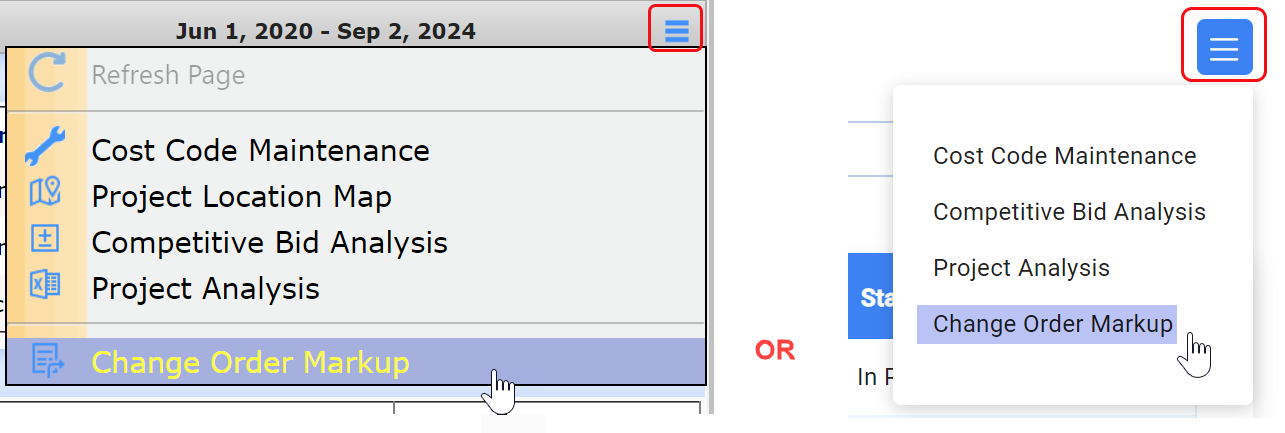
- At the Project Dashboard, select Change Order Markup from the Project Options menu:
- Add a new row then enter a Cost Code, Account Category and Markup %.
Note: If you want the markup to apply to the Account Category in all cost codes, leave the Cost Code field blank.
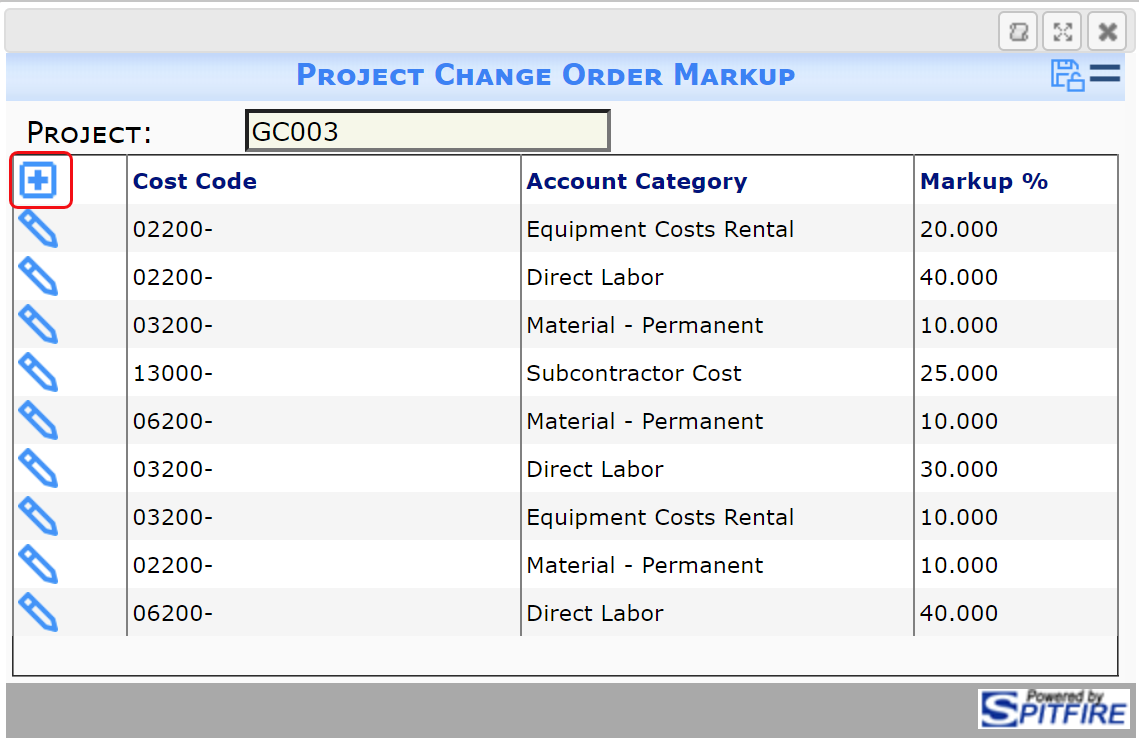
- Save your changes.
To set up markups in the Allocations tool:
- Open the Allocations tool from the Manage Dashboard.
- Change the filter on top to Markup.
- Click the icon to add a new row, then the pencil icon to get into edit mode.

- Look up a Source Account Category:
- If you want to set up a markup for Self-Perform budget entries, look up the desired Account Category (for example, LABOR).
- If you want to set up a markup for RFQ, Commitment and CCO budget entries, look up your subcontractor Account Category (for example, SUB). All Items on your RFQs, Commitments and CCOs will be rolled up into one amount that will then be marked up.
- Enter a markup percentage in the Markup % field (for example, 20 or 40).
- (optional) Enter a Source Cost Code. If no Cost Code is entered, the markup will apply to the indicated Account Category on all Cost Codes.
- (optional) Enter or look up information in the other fields as desired. (See Allocations and Markups for an explanation of all columns). If a Project is not specified, the markup will apply to all projects.
- Click the checkmark icon to accept your changes.
- Save your markup.
Once markups are established, the markup percentage will appear automatically in the MU field when you enter a configured Cost Code/Account Category combination. Then, when you enter an Expense amount and tab out of the field, the Revenue amount will be calculated, as shown in the first picture above.
Related Information:
In order for Spitfire to use established markups, the ItemBudgetRevenue rules must use the default of Auto. If any rule in this rule group has been changed to Manual or Disabled, the markup for those particulars will be ignored.