Folders provide an effective way of organizing your files in sfPMS. Files can be placed in folders and moved to other folders. Folders can contain sub-folders, which can contain their own subfolders.
The folders established on the Catalog Dashboard can also be seen on all Project Dashboard’s File part. This means that individual projects cannot have different folder trees – all project share the folder structure from the Catalog Dashboard. For this reason it is important to plan the Catalog folders appropriately. Any changes to the folder structure made at the Catalog will affect all projects.
All folders in your system appear on the file folder tree; however, you may not have permission to see the contents of all the folders in your folder tree.
File Folder Tree
The file folder tree appears to the left of the file list. You can show or hide the folder tree through the Show Tree View Filter icon.
When looking for a file, you can find it by navigating to the appropriate folder in addition to, or instead of, using filters. When you click a folder name, only files in that folder appear in the file list.
Adding, Deleting, and Renaming Folders
Some folders may have been created during your implementation of sfPMS. If you have the PART | Maintain Catalog and Report folders (RIUD) role capability, you can add, delete, and rename folders at any time. Remember that what you add and delete will affect the Files part of all Project Dashboards.
To add a folder:
- From the top of the folder tree, click Add folder.
- In the pop-up window, enter a Folder Name.
- Click OK.
Note: If your new folder is a main folder, it will appear at the bottom of the folder tree. If it is a sub-folder, its name folder with have a expansion button next to it.
To rename a folder:
- Click the folder name.
- From the top of the folder tree, click Rename folder.
- In the pop-up window, enter a Folder Name.
- Click OK.
To delete a folder:
- Click the folder name.
- From the top of the folder tree, click Delete.
- In the confirmation, click OK.
Note: Deleting a folder does not delete the files in the folder.
Files in Folders
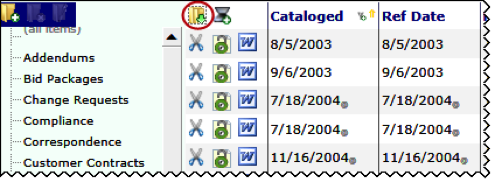
When you do not specify a folder for the file list, all files (meeting the filter criteria) are listed. Those that are in a folder are indicated by the icon before the file name.
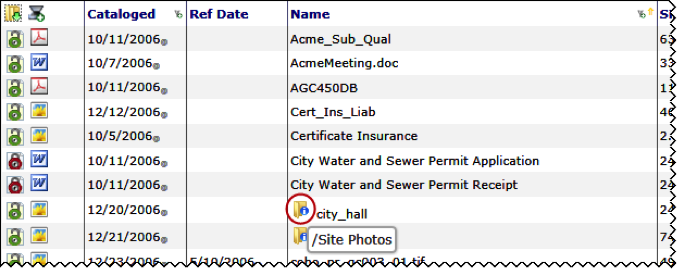
Files without this icon are not in any folder. Files, whether or not they are in folders, can be moved into any folder on the folder tree.
To move a folder:
- Search for the desired file.
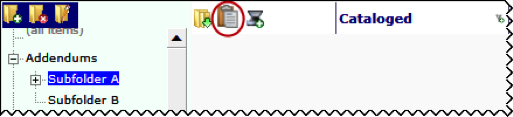
- When located, click Cut Item.
- Repeat steps 1-2 if necessary.
- Click the folder you want to move the file to.
- Click Paste. All marked files will be moved to the folder.