
To add a preliminary company to your Contacts list:
- Access the Contacts Dashboard and select Companies from the top, left-hand corner.
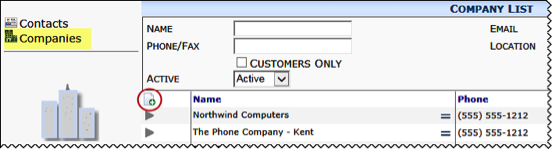
- Use the filters and perform a search to ensure the company does not already exist in your system.
- Click Add to open a new Company Detail window.
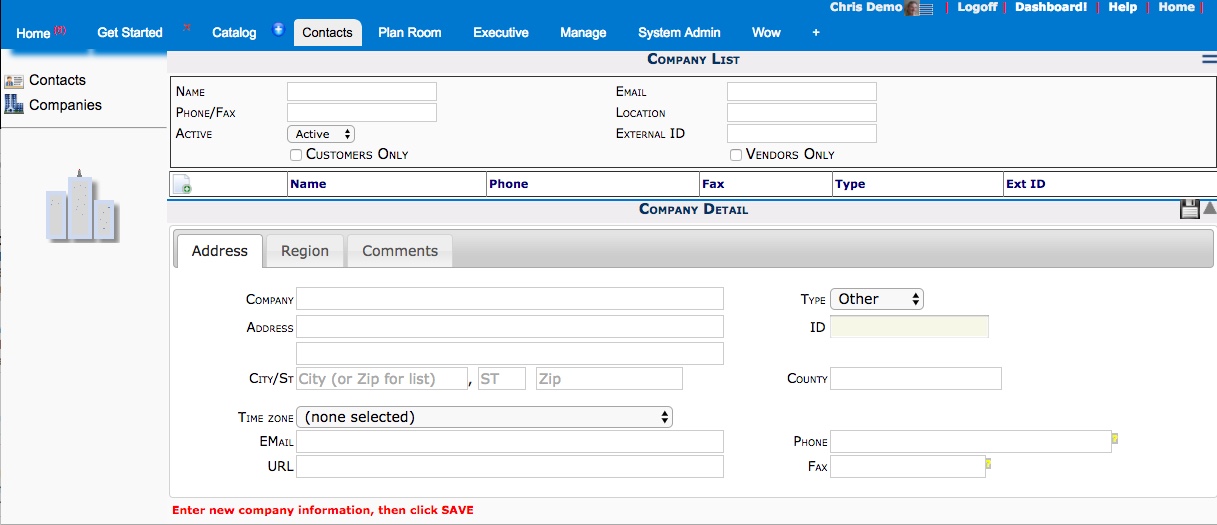
- Select a Type for the Company: Customer, Vendor, or Other.
- Complete the remaining fields as necessary but not the ID field.
- Save the new Company record.
- (optional) Complete the remaining two tabs (Region and Comments).
- Save the company record.
From Pre-Vendors to Full Contacts
If you have preliminary companies (ex: pre-vendors), you can choose to convert any of these companies into full companies on your Contacts list.
Integrated Sites
If you are integrated with an external accounting system, the ID for the company must come from that system.
To retrieve the ID from your accounting system:
- Select Companies on the Contacts Dashboard.
- Open the Company Detail window.
- On the Address tab, click the icon next to the ID field.
- Click OK at the confirmation window that appears. sfPMS will create a Vendor (or Customer) record in the accounting system, and the accounting system will provide an ID. The information will be automatically saved, and the company will be a Full Contact,
Non-integrated Sites
Since all information for companies must be added manually, you must add the ID for the company yourself.
To enter an ID for a company:
- Select Companies on the Contact Dashboard.
- Perform a search for the company.
- When found, open the Company Detail window.
- On the Address tab, enter an ID in the field.
- Save your changes. The company will be a Full Contact.
- (optional) Click the icon at the ID field to create a Vendor document or Customer document.