
Question:
On my Setup sheet for the Pay Application Print Template (PAPT), I indicate that I want to use the auto-filter option and indicate the ‘blank rows cell reference‘ column. Yet, when I preview my SOV printout, none of my rows appear. What is wrong?
Answer:
If the correct data is on the SOV Print template (looking directly at the print template workbook) and yet the Spitfire print preview and/or the print button doesn‘t show/print the schedule, you probably have a blank column between your data columns and the ‘blank rows cell reference‘ column. Either type something in the section header row or first item row of your blank column, or remove the blank column. Auto-filter should then work for you.
An explanation:
This situation occurs only when you want to use auto-filter on your Schedule 1 and/or Schedule 2 sheets:
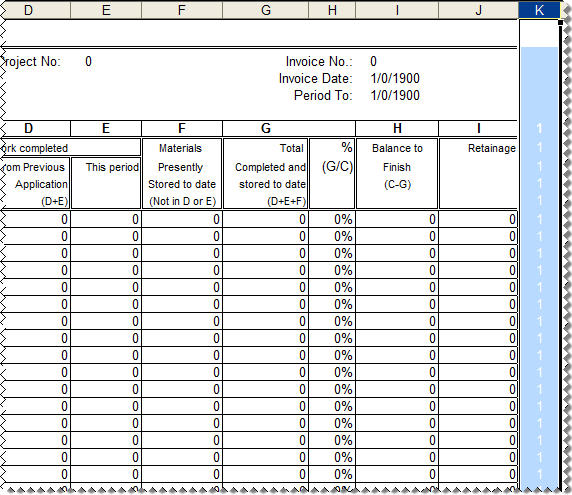
In order for auto-filter to work, you need a column in your print format template where you can indicate all rows that should print whether empty or not, and also rows that have data, for example, column K below:
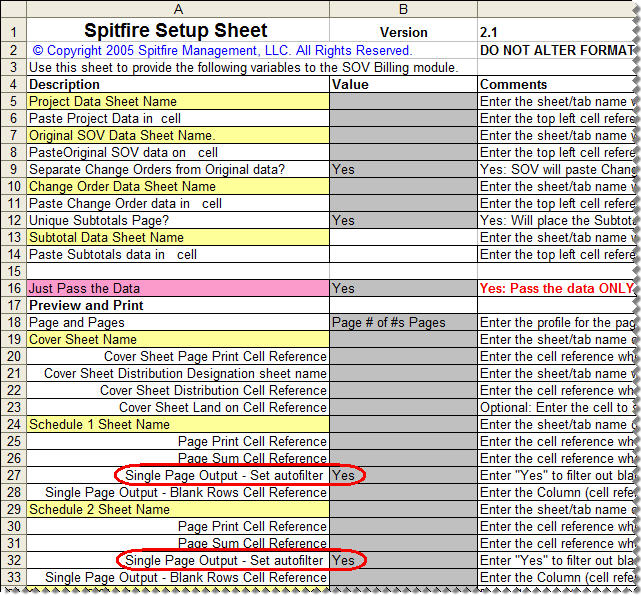
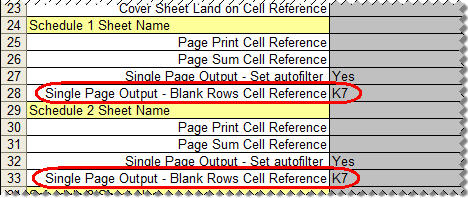
You indicate this column (for example, K7) as your ‘Single Page Output – Blank Rows Cell Reference‘ on your Setup sheet.
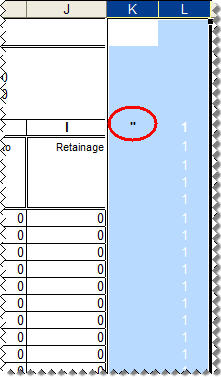
However, you must not have a blank column before that column, as shown:
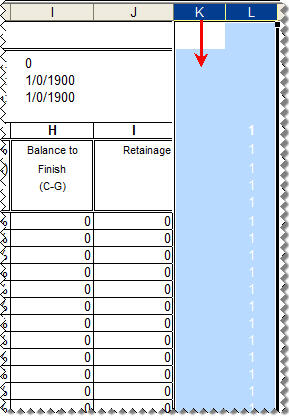
[Note that adding a blank column has moved the ‘blank rows cell reference‘ column to column L. In this situation, you would have to indicate column L (and not column K) on your Setup sheet.]
If you really want a separator column before your ‘blank rows cell reference‘ column, you must enter something (anything) in the section header row or first item row, for example:
Most people, however, do not add an extra blank column. Instead, they choose to hide all columns after their data columns or simply change the font color for the cells in those ‘extra‘ columns to white so that the columns disappear.
KBA-01339; Last updated: October 17, 2016 at 7:51 am;
Keywords: Pay Applications schedules print preview