
Question:
Can I enable Microsoft Entra authentication for my site?
Answer:
Yes, if you are on V23 (Build 8800+). Our Microsoft Entra implementation provides authentication (not authorization) based upon the email address provided by Entra to Spitfire. Spitfire must be able to match that email address to an authorized user. Note: Just as with LDAP, there is a small annual license fee for this feature. In addition, your site must use SSL.
Overview
The Microsoft Entra feature is enabled through ICTool. Once enabled, a Microsoft login button will appear on the login page.
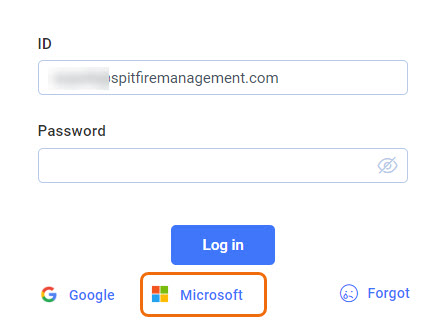
Once a user uses this button to log in, subsequent logins should be automatic. Entra provides to Spitfire a user identifier that is almost always the user’s Office 365 email address. Other configurations are possible, such as an address like admin@yourDomain.onmicrosoft.com.
Note: Mixed authentication is supported, which means users would be able to both log in through Microsoft Entra and also via their Spitfire ID and password if desired. See “Disabling Spitfire Authentication” below if you do not want to give users the option to use Spitfire’s ID and password.
Preparation
- Obtain a license for this feature from Spitfire. A service fee is required for this feature.
- In ICTool, navigate to the sfPMS | Authentication | Microsoft Entra tab.
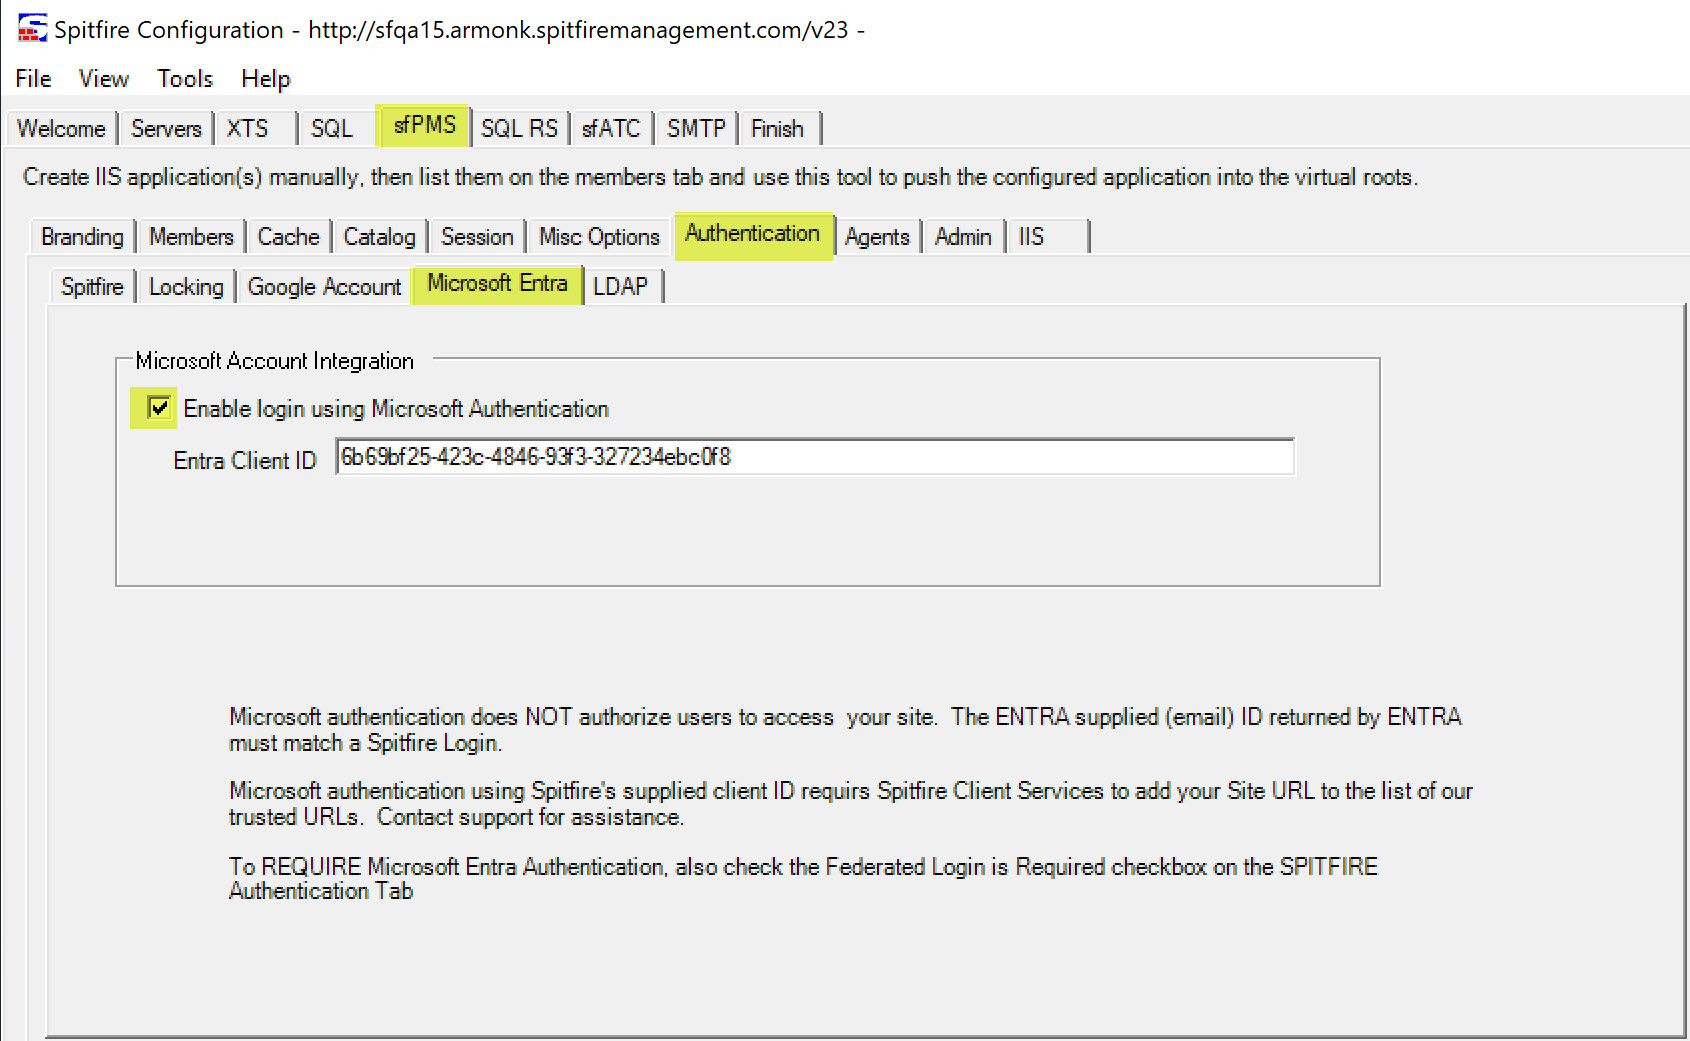
- Check the box to enable.
- Optionally, specify your own Entra Application ID. Most sites will use Spitfire’s provided ID.
- Recommended when using our Entra Application ID: have someone with the “consent on behalf of organization” permission perform the steps below.
- [If you get a message that your site is not trusted, contact Spitfire Support so we can trust your URL(s).]
- Follow the instructions for “Disabling Spitfire Authentication” or proceed to step 7.
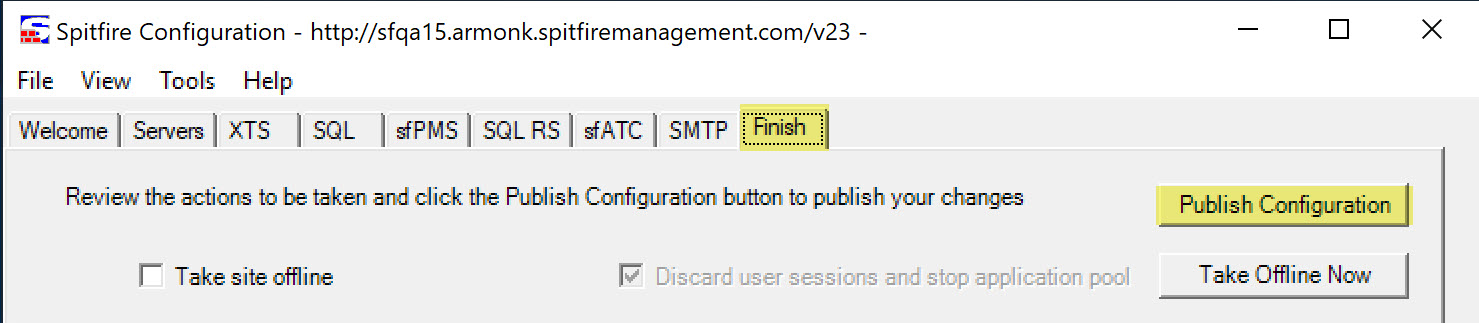
- Go to the Finish tab and click the Publish Configuration button.
Disabling Spitfire Authentication
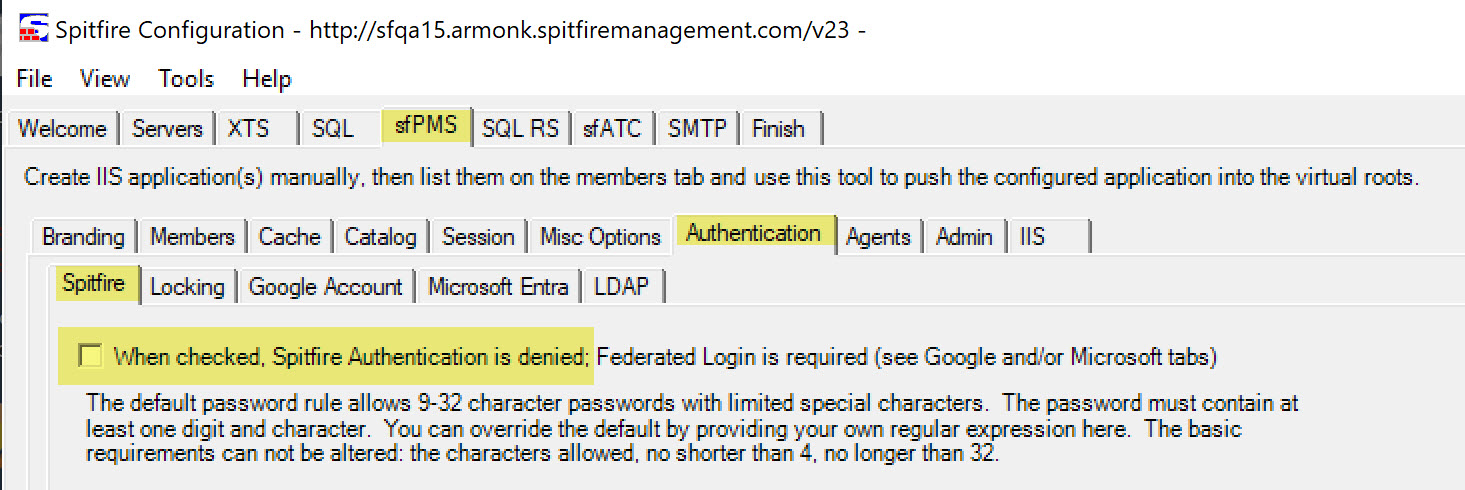
- In ICTool, navigate to the sfPMS | Authentication | Spitfire tab.
- Check the box to disable the Spitfire ID and Password login fields for Spitfire.
- Go to the Finish tab and click the Publish Configuration button as shown above.
Organization Consent for Spitfire’s Entra Application
- You need your Azure Tenant ID. If necessary visit portal.azure.com | Microsoft Entra ID tool, Overview. The Tenant ID is displayed here.
- Copy the URL below and replace {tenantid} (including the brackets) with your Tenant ID
https://login.microsoftonline.com/{tenantid}/v2.0/adminconsent?client_id=6b69bf25-423c-4846-93f3-327234ebc0f8&scope=openid+profile+User.Read&redirect_uri=https://r.spitfirepm.com/spitfire_logo.png - Visit that page
- Pick the Azure account
- Review and Accept
- When you see the Spitfire Software logo on a black background you can close the tab
- The sfPMS-Entra-Authentication application will appear in your organizations “All Applications” view.
Migration
In general, deploying Microsoft Entra Authentication is trivial!
Since Microsoft Entra provides a unique email address for each of your users, there are two options to align the identities of your users across the platforms.
- Make the Spitfire User ID the same as the Microsoft email address. For example, Joe Schmo’s Spitfire ID would be jschmo@company.com.
- Make sure that each email address in Spitfire belongs only to one user. For example, jschmo@company.com should point to only Joe Schmo in Spitfire’s Contact Dashboard.
When the identity from Entra matches either the unique user login ID or unique email address of an authorized user, then the session is allowed based upon Microsoft’s assertion.
Contact your implementer for any assistance.
KBA-01845; Last updated: April 14, 2025 at 10:28 am