
Question:
I have a bi-directional template but realize that I do not want my users to change the data in certain columns. The data in the Spitfire document is correct and should not be changed through the template. However, some columns do require user input. How can I modify my template so that users can’t change the data in certain columns?
Answer:
While Excel itself offers a way to protect a sheet and then unprotect certain cells, we find this method to be awkward and problematic. We cannot offer a way to make certain cells (in certain columns) read-only, but we can offer a way to make data in certain columns never change the data in the Spitfire document, so it won’t matter if a use makes changes to those columns in the workbook.
Step A: The RawItems Sheet
In order for this method to work, your template must have a RawItems sheet. If it does not, follow these instructions:
- Use your current template on a document with data. Keep this output file open.
- Download your template from the Templates tool (on the Manage Dashboard) and keep the file open.
- Back on your output file, look for the RawItems tab. It may be hidden, in which case you’ll need to Unhide it.
- Right-mouse click on the tab and select Move or Copy.
- Select the template as the “book”, select (move to end) as where to place it, and check the Create a Copy checkbox, then click OK.
- Close the template output file.
- Back on your template file, delete all data rows on the RawItems sheet. You should be left with the header row only.
- Save your template and continue with Step B below.
Step B: From Defined Name to Formula
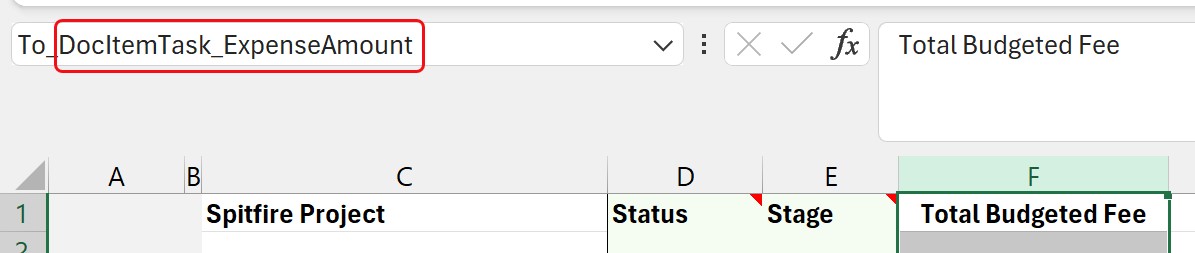
- Go to the column that you want to change and click on the column letter to select the whole column.
- Note the Defined name for the column, especially what appears after the To prefix. This is the fieldname, for example DocItemTask_ExpenseAmount in the picture below.
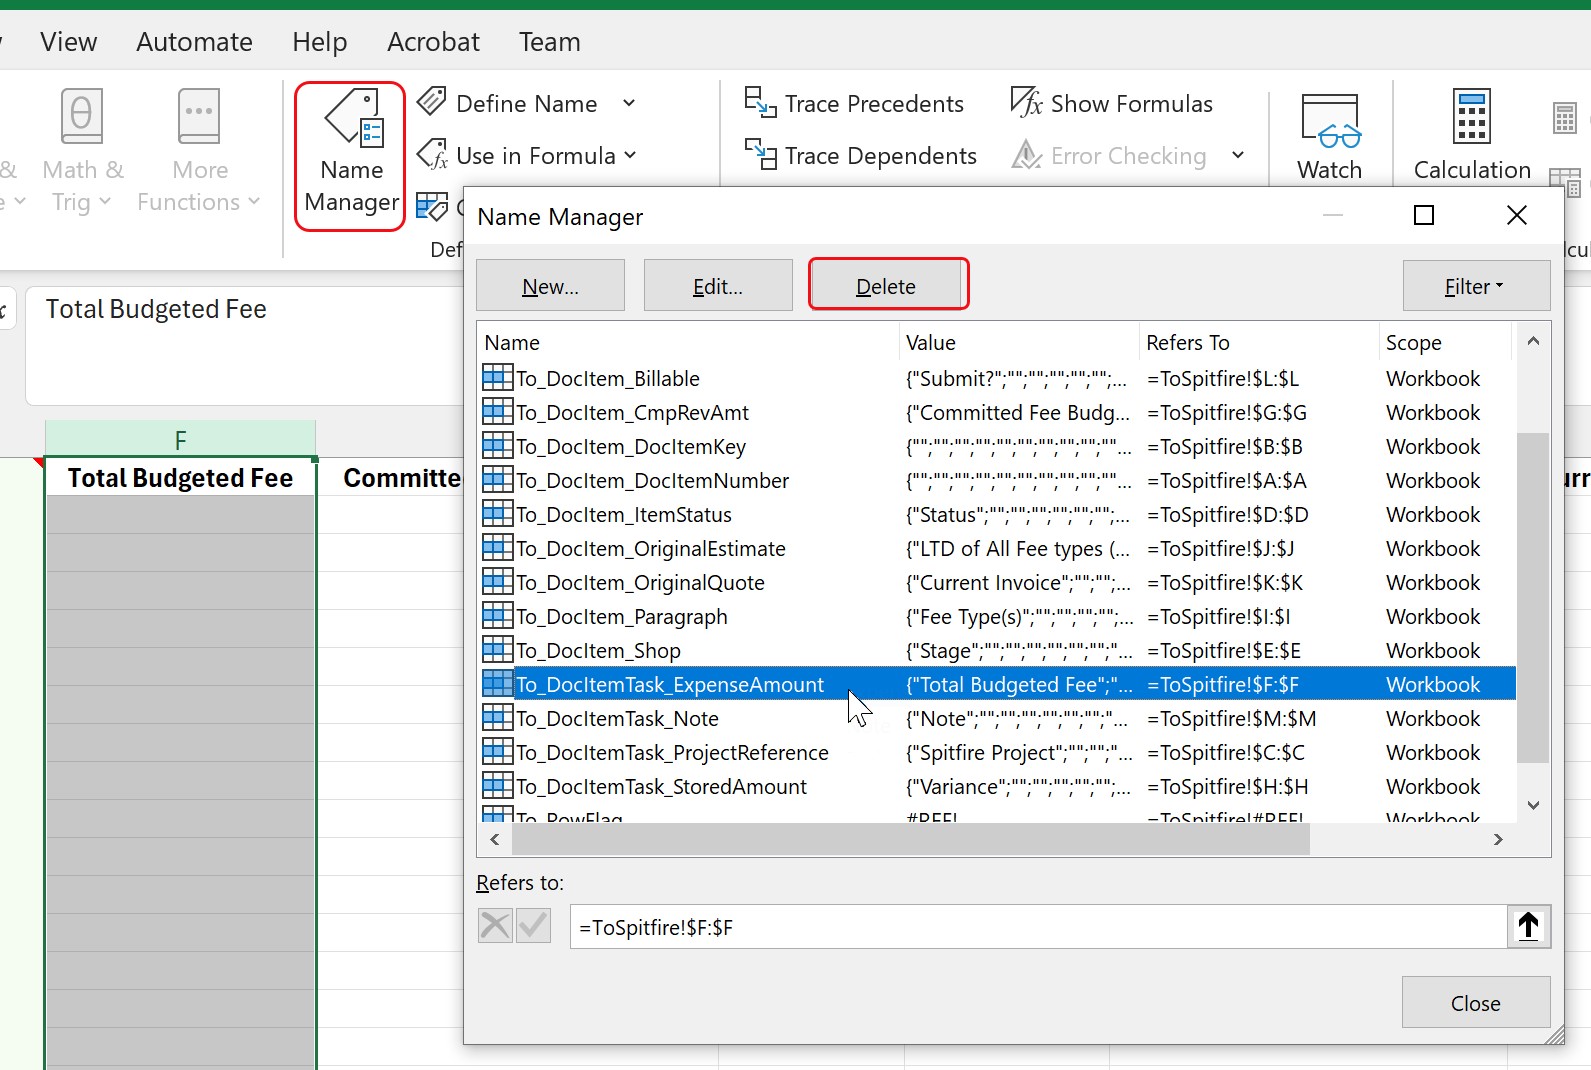
- Open the Name Manager from the Formulas ribbon and select the field with the To prefix, then click the Delete button.
- Select the cell in row 2 of this column.
- Enter the following formula where the fieldname is replaced by the same fieldname that you noted in step 2.
=@IF(ISBLANK(@zRawItems_fieldname),””,zRawItems_fieldname)
For example:

- Save your template
Step C: Establishing a Limit
The formula you enter on row 2 will be copied down automatically to all rows. Since you don’t actually want to copy the formula down indefinitely, you should set a limit to the rows that should have the formula. Note that you need to do this step only once per workbook.
- Think about how many rows of data you are likely to need (for example 1000).
- Double that amount then scroll down to that row (for example, row 2000).
- Click on any cell in that row (for example, the first column in your workbook), then select Define Name from the Formulas ribbon.
- Define the cell as To_RowLimit.
- Either change more columns or set your cursor where you want it to be when the workbook is opened (i.e., not on the limit row.)
Step 4: Upload Your Template
Once you are finished making changes to your template, save it then upload it to your template library, replacing your original template.
Additional Comments:
See also KBA-01797 for how to convert an old Via Excel template to a Bi-Directional template, or just how to get started on a Bi-Directional template.
KBA-01854; Last updated: June 7, 2024 at 10:03 am