Question:
When I look at my Project List on the Home Dashboard, I see that some of my projects have a Project Photo and others do not. How can I add a photo to a project? How can I change the photo for a project?
Answer:
All projects can include a Project Photo. This photo can be seen on both the Project Dashboard for the project, and on the Home Dashboard’s Project List. Anyone with the proper permission (see Project Dashboard Capabilities) can add and change photos.
To add a photo for a project in Power UX:
- Go to the Project Dashboard and expand the right-side panel if necessary.
- Either click on the “upload” message or drag and drop a photo image on top of the Drop Photo Here section.

- You can do this even if there is a photo already there.

Note: Any new photo replaces a previous photo. If you do not see your new photo right away, close the Project Dashboard (by clicking on the X) and reopen it again. By default, all site photos are kept in the Site Photos folder in the Catalog (see below).
To add a photo for a project in Classic UI:
- Go to a Project Dashboard and find the Image tool. You may need to click on the header in order to see the Add photo area.
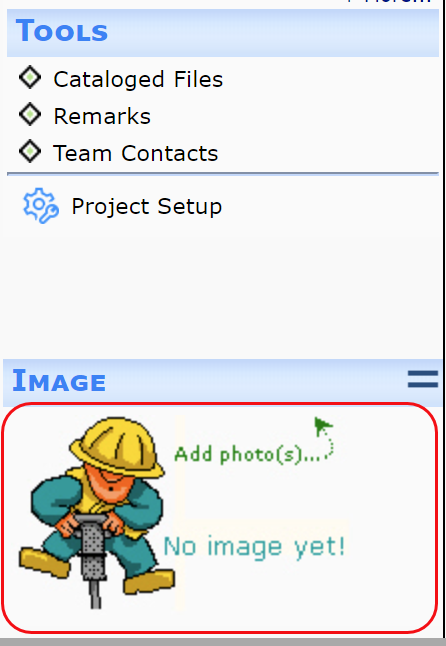
- Either drag and drop a new photo image file into the area or select the Add Image option from the drop-down menu. You can do this even if there is a photo already there.

Note: Any new photo replaces a previous photo. By default, all site photos are kept in the Site Photos folder in the Catalog (see below).
To Find the Site Photos in the Catalog in Power UX:
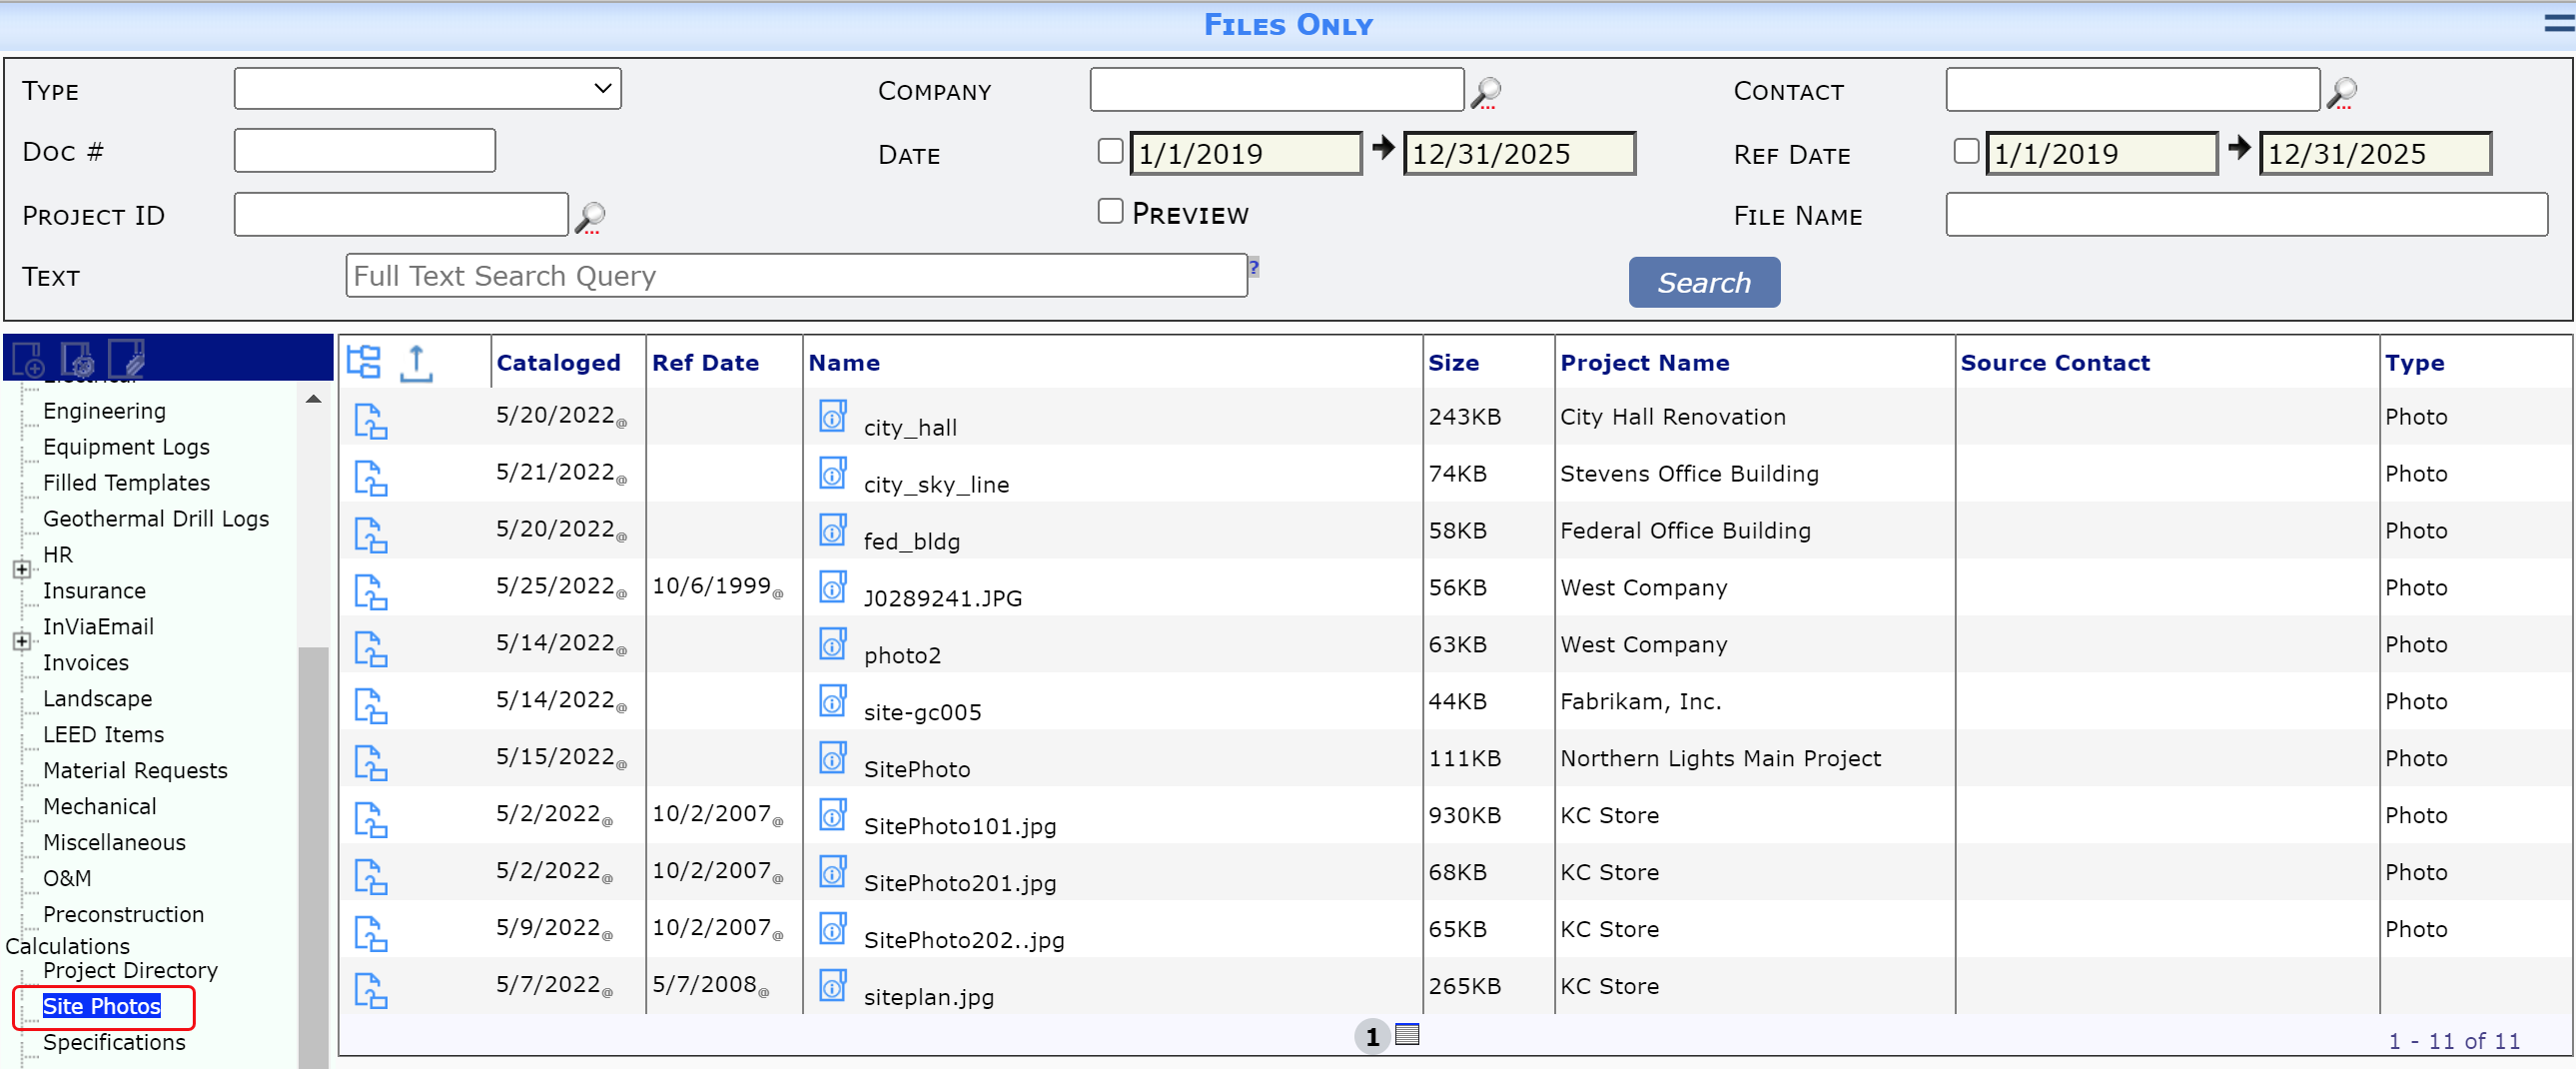
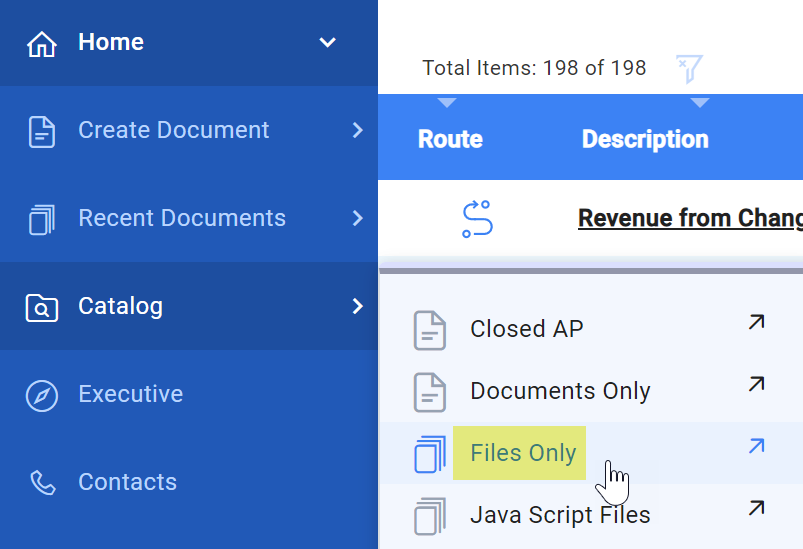
- Select Files Only from the side Catalog menu.
- Select the Site Photos folder. If all the files you expect do not show up, review and change or remove your date filters.

To Find the Site Photos in the Catalog in Classic UI:
- Select Files Only from the Catalog tab menu.

- Select the Site Photos folder. If all the files you expect do not show up, review and change or remove your date filters.