Question:
How do I add a new document status for my Commitment that will appear in the Status drop-down only when the Commitment is Pending?
Answer:
You will need to add a new code to the DocStatus code set in the Code Maintenance tool, and also set up a NextDocStatus rule for that code. In addition, you should consider whether the new code should be a “pending” status. If so, you’ll need to add the new code to a DocPending rule.
First, add a code to the DocStatus code set:
Spitfire uses the codes internally. The descriptions of the codes are what appear in the Status drop-down menu.
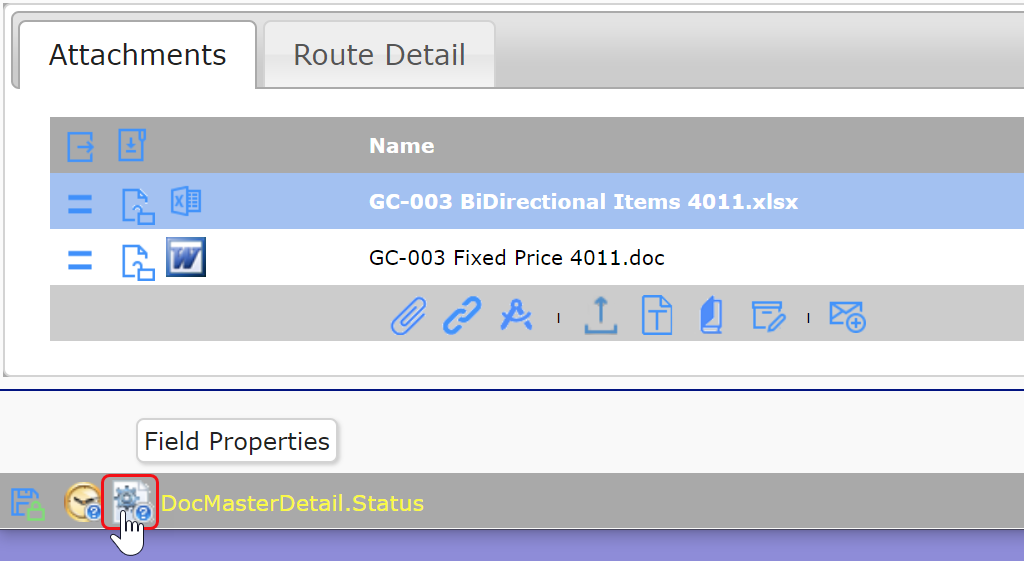
If the document window is open:
- Click the Status field to give it focus.
- At the bottom of the document, click the Field Properties icon. (Note: if the icon is not available to you, see the next set of instructions.)
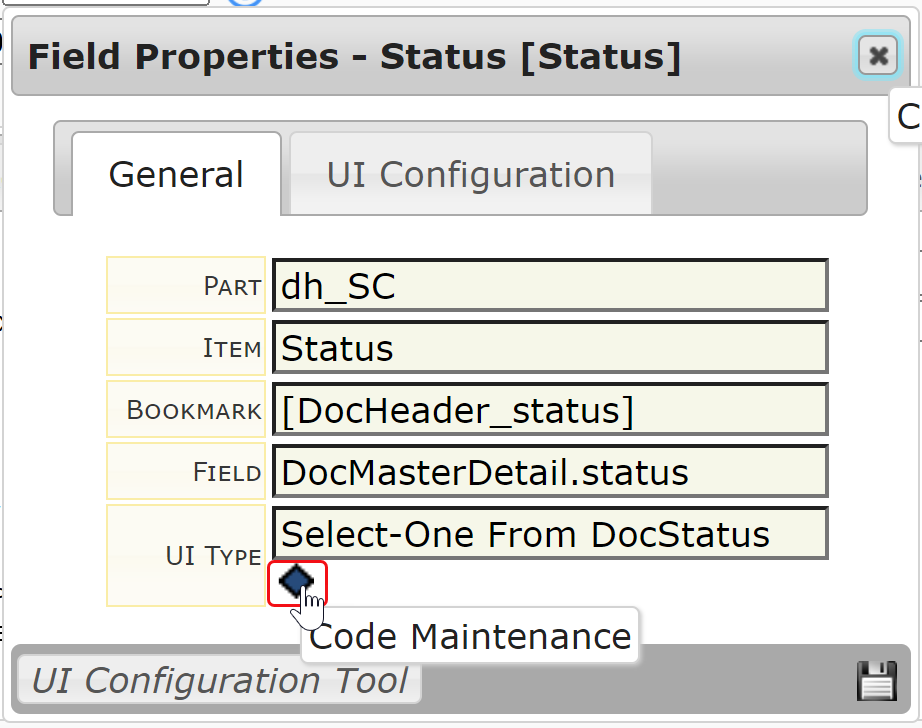
- Click on the diamond to open the Code Maintenance tool.
- Continue with the section “In either case” below.
If you are accessing the Code Maintenance tool directly:
- Go to the Code Maintenance tool on the Manage Dashboard and expand the DocStatus code set.
- In the filters, select the desired Doc Type. The current codes for that Doc type will appear.
In either case:
- Add a new code and description, for example, W for “Reviewed.”
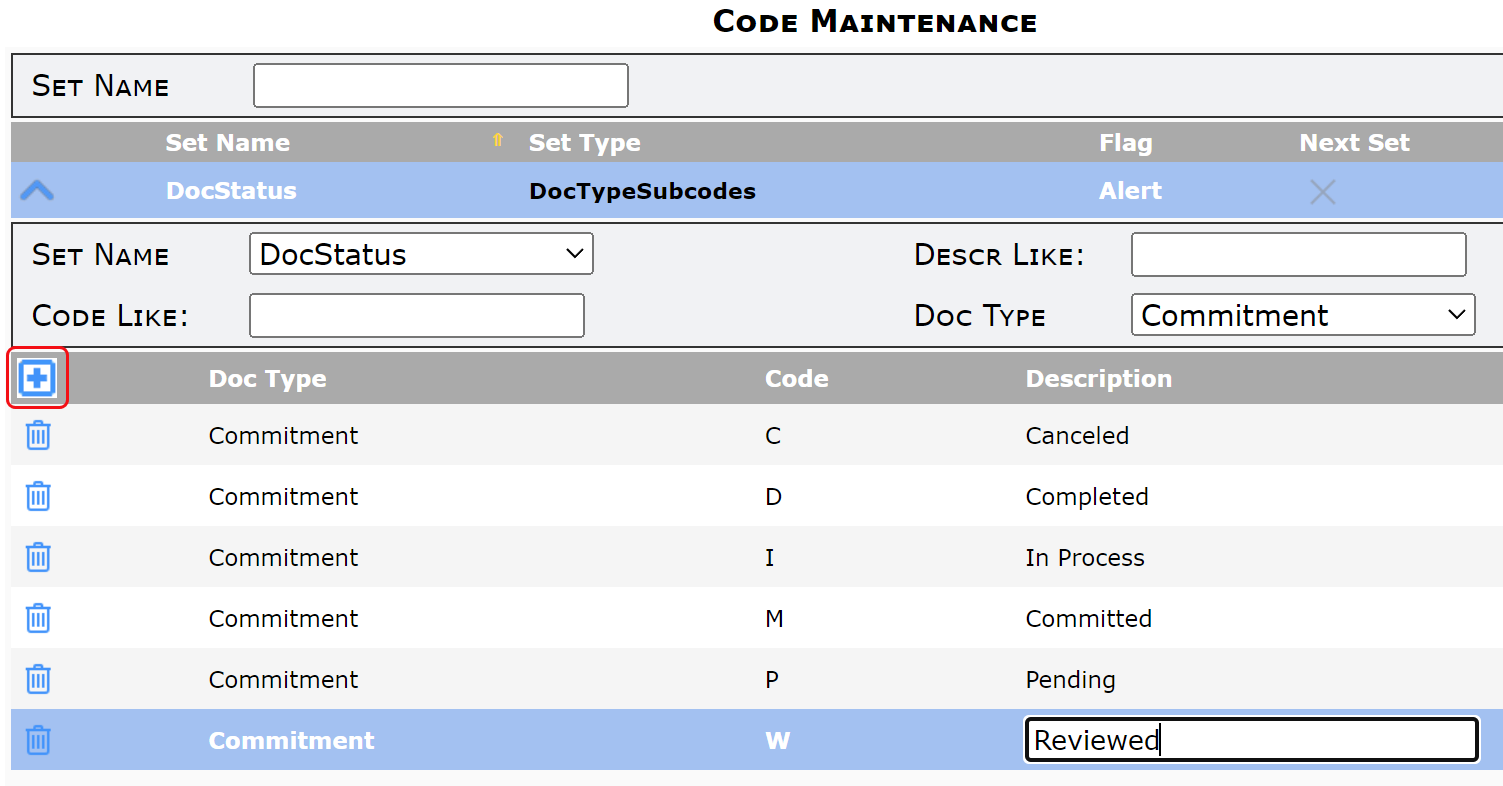
- Remember the code you just added because you will need it in the NextDocStatus rule. Also, make note of the code for the status that will allow the new status (for example, P for Pending).
- Save your changes (and, if in the pop-up Manage Codes window, close the window).
Second, add to your NextDocStatus rules:
The NextDocStatus rules determine which choices show up on the drop-down when you are already at a particular status. This allows you to control status flow and to prevent users from selecting inappropriate statuses.
- Go to the Rules Maintenance tool on the System Admin Dashboard and expand the NextDocStatus rule group.
- Uncheck the Site Only checkbox. Spitfire distributes several NextDocStatus rules.
- Select your Doc Type in the filter. Any NextDocStatus rules already set up for your Doc type will appear.
- In the Rule column, look for the code (e.g., P) that will allow the new code.
- If it already exists, either
- Edit that row or
- Copy that row in order to configure it
- If it does not exist,
- Use the “Add New” icon to add a row then
- Enter the older code as the Rule.
- Enter all the statuses that should be available, including the new one you just added to the Code Maintenance tool, as the Result Value. Enter codes within single quotes and separated by commas. As an alternative, if you want to include most Doc statuses, use the not:’D‘ format to indicate the Doc statuses that should not be included. (See KBA-01118 for more information.) For example, the distributed rule for P of not:’D’ will include any new status codes that you have added to the code set, but not D (for Completed). If that is what you want, you do not need to change anything. Otherwise, you might enter a rule such as this:

- Make sure that you include the rule code in the result value! For example, P must include P in the result value.
- Save your changes.
- Click the Reload Configuration button on the left side of the System Admin Dashboard.
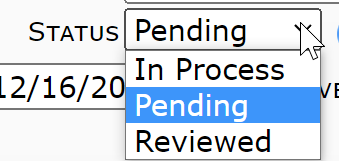
- The next time you open a document of that Doc type with the configured Doc status (Pending in our example), you will see the new status on the drop-down:
Note: A Next Doc Status Matrix Report is available.
(Optional) Third, add the code to a DocPending rule:
If the new status should place or keep the document in a “pending” state, the code will need to be added to the Doc Pending rule group, for example:
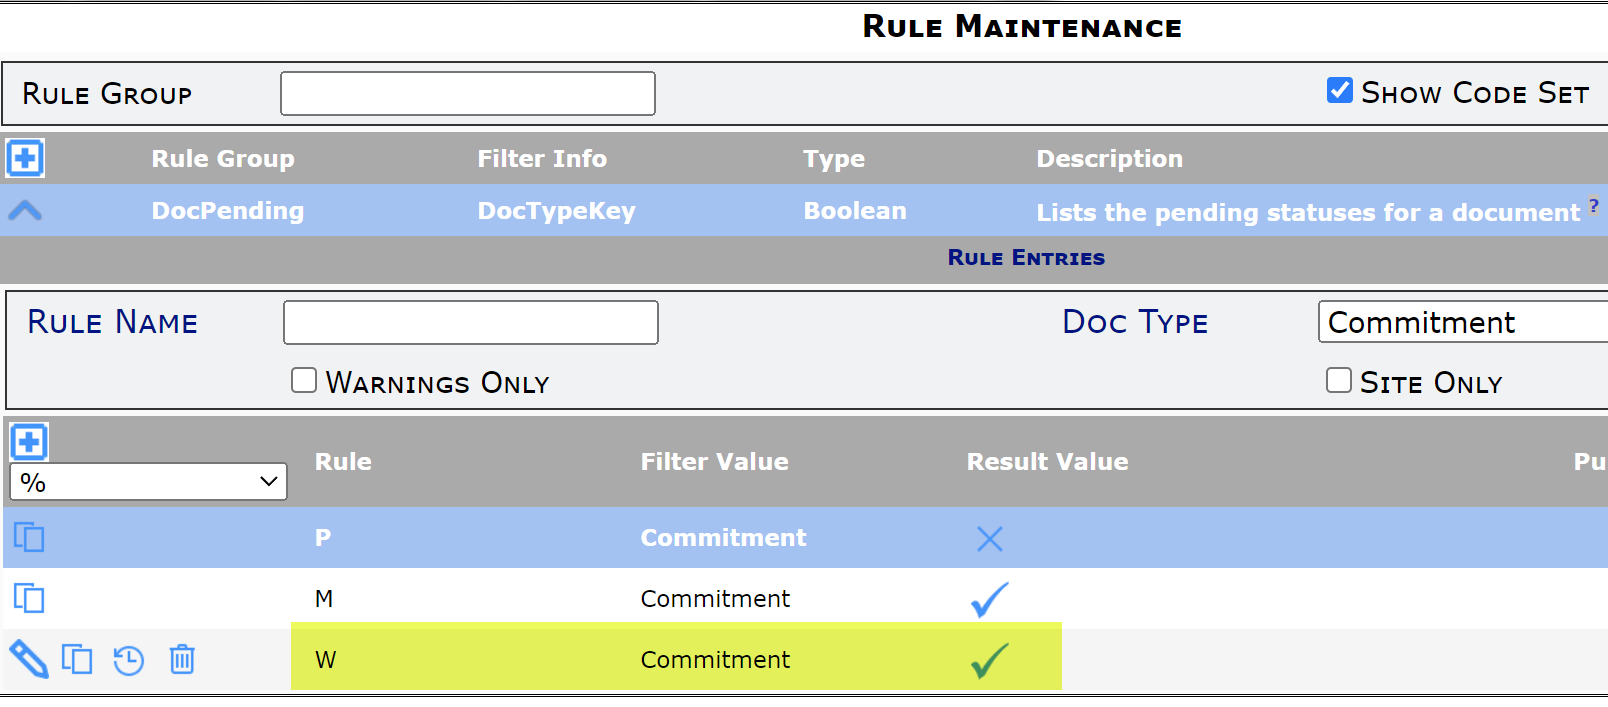
Note: your site may be set up to have P (Pending) not be a pending status, reserving M (Committed) as the only pending status (as shown in the example above. If that is the case, you do not need to add your new code to the DocPending rule group.