
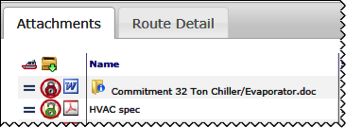
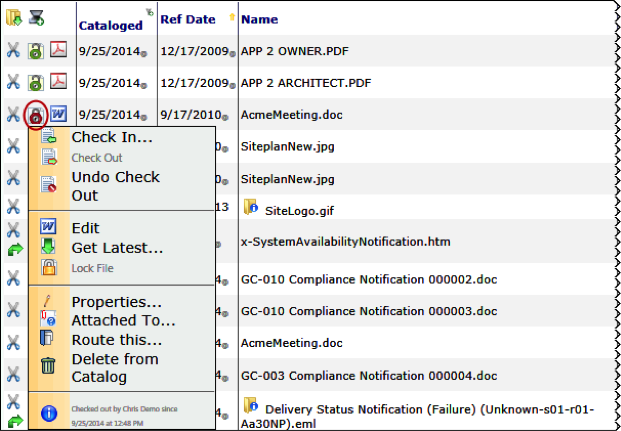
Wherever you find files (on the Attachment tab, the Catalog Dashboard, or the Project Dashboard), you will find the Check In/Check Out icon on each file row. The icons open a drop-down File Options menu, in which you will be able to perform various tasks with your files.
Check In/Check Out
You can choose to manually check out and check in a file from the File Options menu.
Get Latest
sfPMS can contain various versions of the files in your system. There may be times when you want to get a copy of the latest version of a file to place on your computer. You can copy the version of the file to your computer through the Get Latest option. If, however, you plan on making changes to the file and uploading your changed file back to sfPMS, you should edit the file instead.
To get a copy of a file from your computer/network:
- Click either Check In or Check Out at the row of the file you want to copy.
- From the File Options menu, select Get Latest.
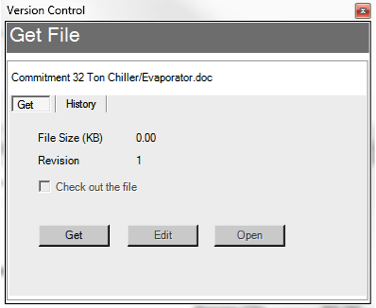
- Click Get. A browser window will appear.
- Navigate to a location on your computer or network where you want to save a copy of this file and click Save.
- (optional) If you want to open the copied file, click Open back in the Get File box. The file will open in its native application.
Note: You do not need to open the file at this point, Because the files is on your computer/network, you can open the file in its native application at any time using traditional means. - Close the Get File box.
View Latest
If you have read/view access to a file, you can choose to view the latest version of that file from the File Options menu.
Edit
If you have edit permission for a file, you can choose to edit that file from the File Options menu.
Lock/Unlock File
A file can be “locked” so no other user can edit the file. A file would need to be unlocked again before anyone can edit or check the file out. After a file has gone through all its revision, it should be locked.
To lock a file:
- Click Checkin/Checkout on the line item of the file you want to lock.
- From the File Options menu, select Lock File.

To unlock the file:
Click the Lock icon on the row of the file you want to unlock, from the File Options menu select Unlock.
Properties…
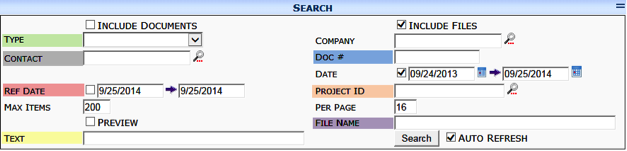
Depending on your permission level, you can view or edit additional information (properties) about each file. Properties give you more ways to search for the file.
To open the File Property Editor, click Checkin/Checkout to open the File Options menu, and select Properties.
File Properties Tab
On this tab you can view or enter information that may be useful when using the filters to conduct a file search.
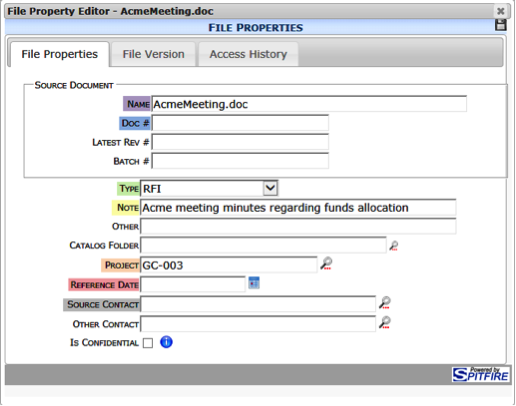
Text entered in the Notes field appears on the Attachment tab when you attach this file to a document. This text also appears on the optional Notes column on the Catalog or Project Dashboard Files list.
Save your changes and close the dialog box.
Other
If you configure the Catalog Dashboard to include the Other column, information from the Other filed will be listed on the file list.


File Version Tab
On this tab you can access and view information about all versions of the file.
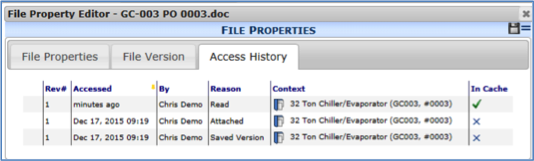
Access History Tab
On this tab you can see who has accessed the file and when.
Attached To…
Since files can be attached to documents, you might want to see to which documents a file is attached.
To see what documents have a particular file as an attachment:
- Click Checkin/Checkout to open the File Options menu, and select Attached To. A list of documents that have the file as an attachment will appear.
- Close the window.
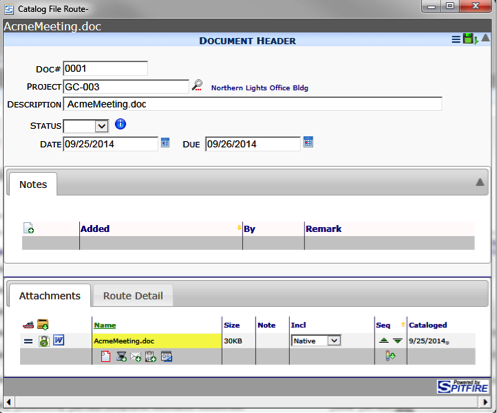
Route This…
Many Spitfire documents are routed with attached files that support the purpose of the document. However, you might sometimes want to route a file for its own purposes. In such situations you can route the file through a special Catalog File Route document, which exists just for routing purposes.
To route a file from the file list:
- Click Checkin/Checkout to open the File Options menu, and select Route This.
- In the Create a routing document for this file now? confirmation box, click OK. The Catalog File Route document window will appear. This special document will have the file as an attachment.
- Click the Route Detail tab to add routees.
- Click Save and Send this document.
- Close the document window.
Delete from Catalog
The option to delete a file from the catalog appears only for users who have the proper permission. Since deleting a file cannot be undone, use this option with extreme caution.
To delete a file:
- Click Checkin/Checkout to open the File Options menu for the file you want to delete, then select Delete from Catalog.
- If you really want to delete this file, click OK at the warning box.
- Click Save at the top of the Catalog Dashboard in order to make your deletion permanent.