
Question:
When I switch certain Doc types to Power UX, I notice that certain read-only fields on the Details tab are missing. The fields are not available through the gear configuration. How do I make these fields show up?
Answer:
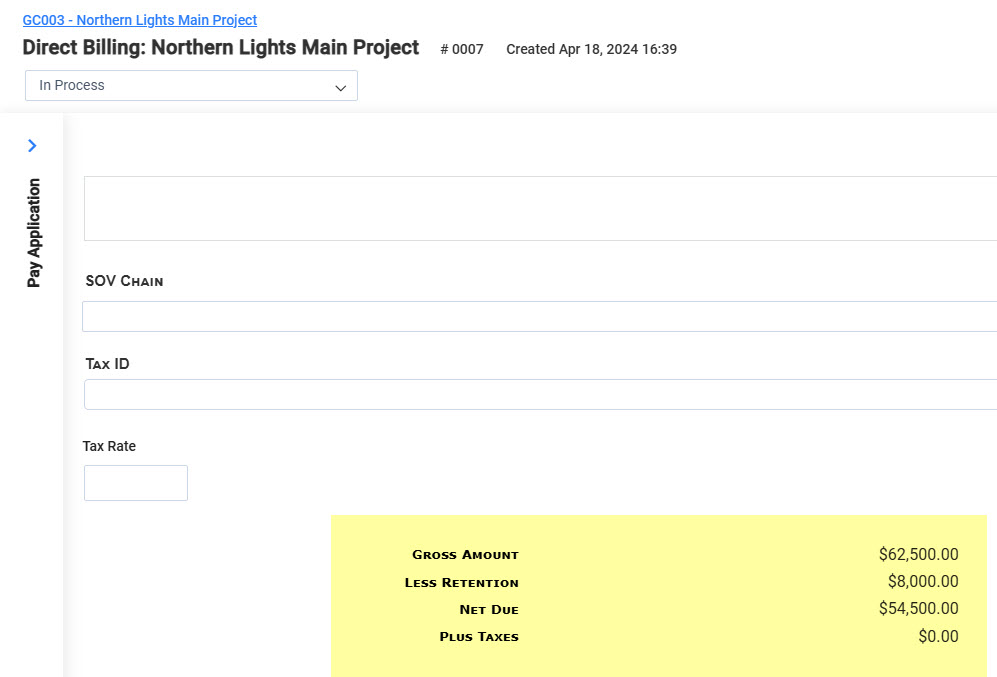
Certain of your Doc types may indeed have special read-only fields in the Details tab. For example, your Pay Application (SOV Billing) documents may show the following fields. These fields are added to the Doc type through a special template file.
To add read-only fields on the Details tab:
- In Spitfire, go to the UI Configuration tool on the System Admin Dashboard.
- Filter for the desired Doc type then for Doc Body (P-UX) as the Part and Template Area as the Item. Also, check the Show Configuration checkbox.
- Edit the row that shows up, either by editing an existing user-configured row or by clicking the copy icon to get a new row.
- Type DataField=*/filename; in the Extended field, where filename is the name of the .htm or .html file that you will create. For example:

- Save. Remember the name of the file.
- Research the bookmark names of the fields that you want to have appear in Power UX.
- In Classic UI view, click on the field contents then look at the bottom of the window.
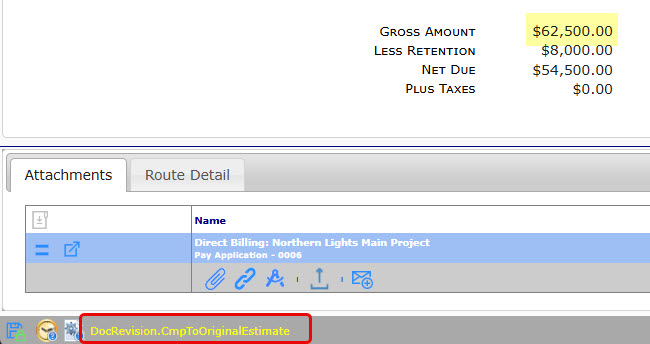
- Convert that fieldname to a bookmark name by replacing the dot with an underscore. If the fields needs a prefix, add that to the bookmark name and jot that information down somewhere, surrounding the bookmark name with square brackets. For example, the field above becomes [FC2_DocRevision_cmpToOriginalEstimate]. (Click here for more information about template bookmarks.)
- In Classic UI view, click on the field contents then look at the bottom of the window.
- Outside of Spitfire, create the.htm or .html file using your favorite editor (including Notepad++).
- Type one word (that you will later delete) in the file (because empty files cannot be uploaded into Spitfire).
- Save that file somewhere.
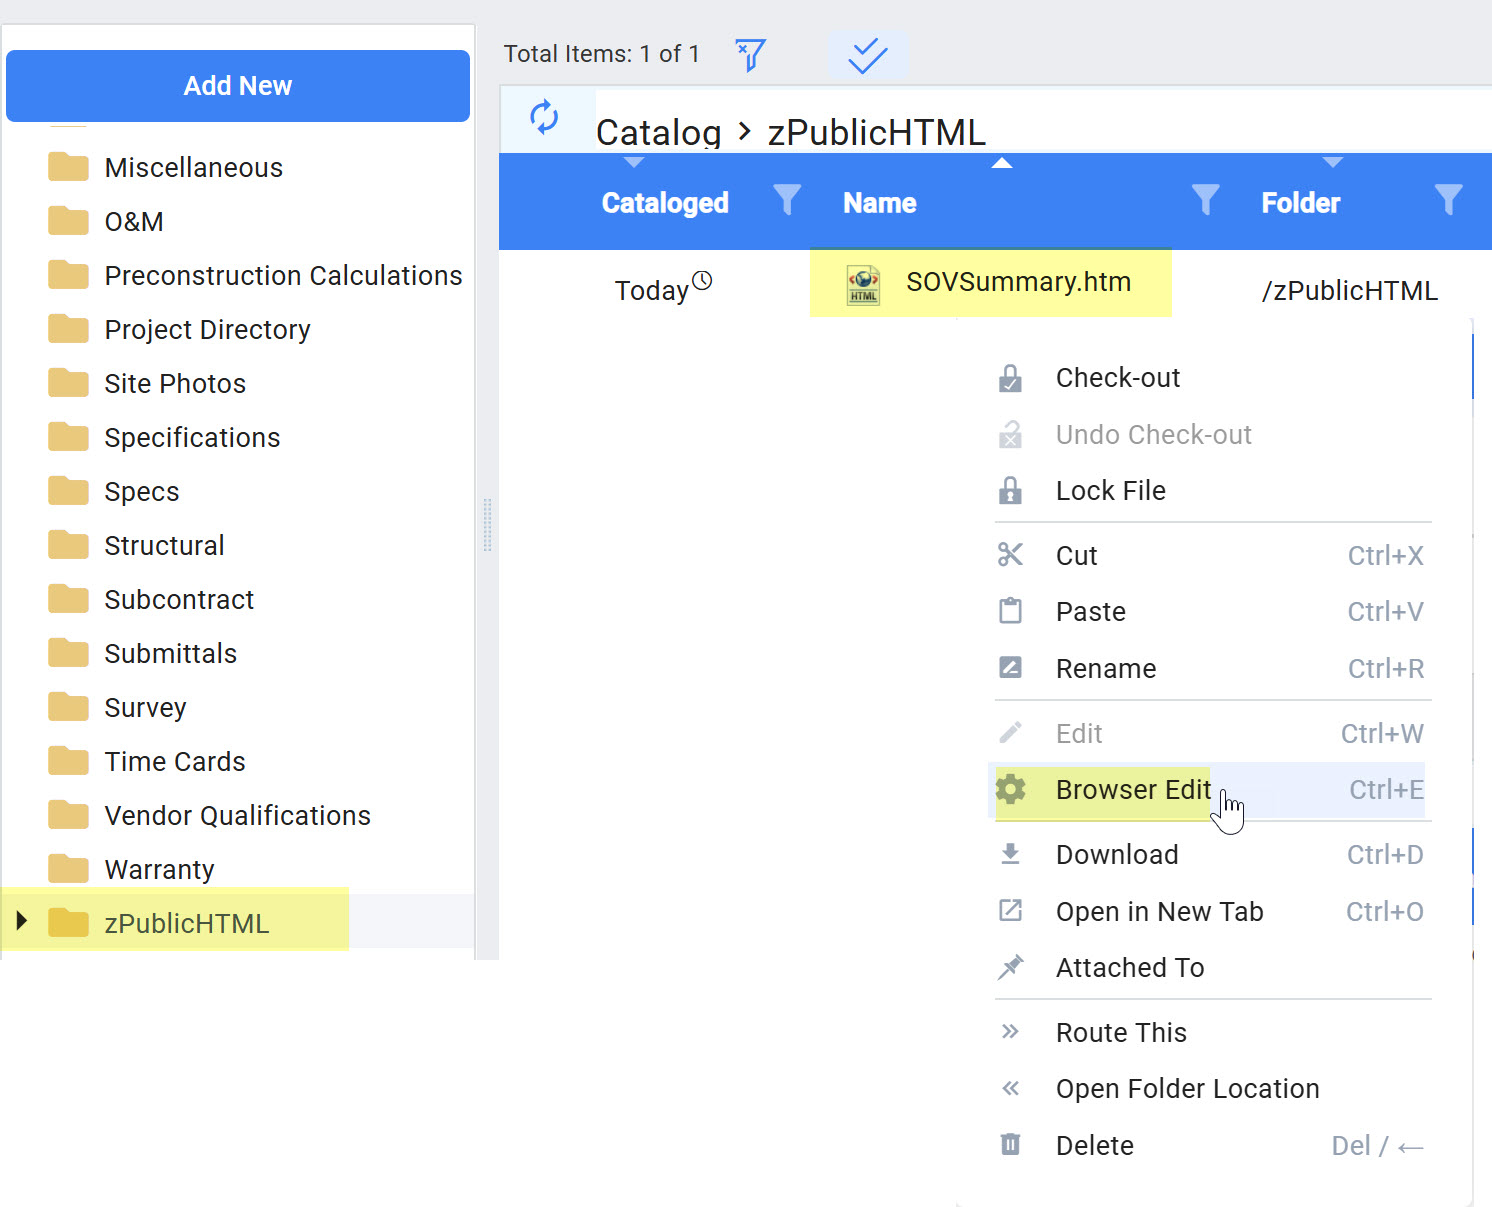
- Back in Spitfire, go to the Catalog | Files Only Dashboard and select the ZPublicHTML folder.
- Drag and drop your htm/html file into that folder.
- Right-click and select Browser Edit. For example:
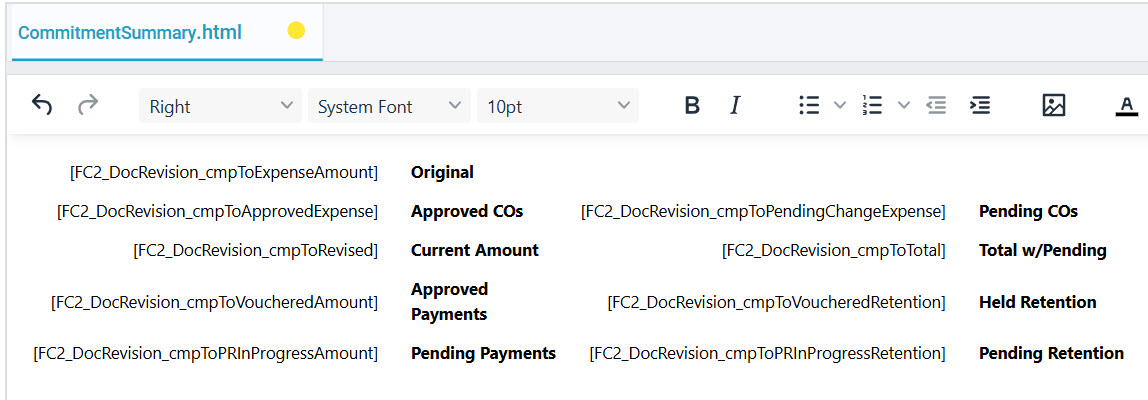
- Delete whatever is unnecessary in this file.
- Use the Table options to create a table with three columns. The first column is to help you indent the information; the second column holds the bookmark name for the field; the third column holds the label for the field.
- Adjust the column widths. You can use Table properties to remove the borders in the table if you’d like and you can use other editing options to bold text or change its color.
- Remember to put square brackets around the bookmark names, for example:
- Press Ctrl + S to save. Keep the file open while you check your work on the document in case you need to make changes. You will know that the file has been saved when the yellow dot on top changes to an x.
- Open a document of the correct Doc type.
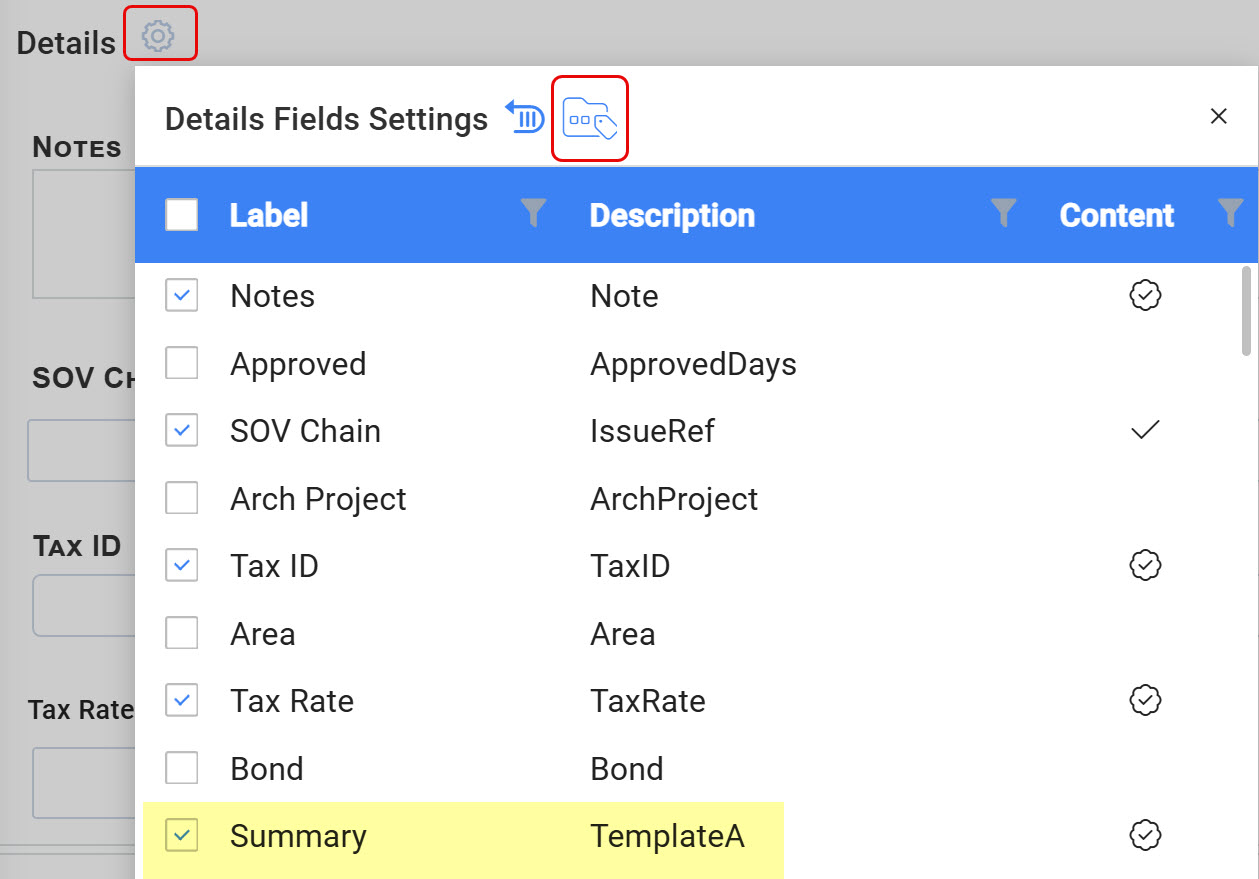
- Click on the gear on the Details tab and check the Summary | Template A field, if it isn’t already.
- Click the icon to save your settings as Site Settings.
- Close the Details Fields Settings window.
- Press Ctrl + F5 to refresh your document.
- Look at how the fields (label and data) appear on your document. If they need correction, go back to the file in the zPublicHTML folder and make your changes.
More Information:
While this KBA explores how to set up the summaries available in Classic UI, this template feature can also be combined with qAliases and advanced template bookmarks to display all sorts of information. Contact Support for more information.
KBA-01864; Last updated: April 11, 2025 at 12:47 pm