
Question:
I have to export many, many files from the last ten years from a single project. When I try to export, Spitfire times out. Is there a different way to bulk export files that would give me better results?
Answer:
Yes, if you have the PAGE | Can Export Files from the Catalog permission.
Note: this article applies to the Catalog in Power UX. For the Classic UI, see How to Export Files.
Exporting Fewer than 300 Files:
If you need to export fewer than 300 files with a total native size under 6GB, you can try these instructions first.
- Go to the Files Only view of the Catalog.
- (Optional) Use filters to narrow your list of files, for example, by Project or Date.
- Click on all the rows that you want to export. You can click on the first row then scroll to the last row that you want and use Shift + Click to select those rows. You can also use Ctrl + Click to select non-contiguous rows.
- Right-click on any row and select the Download option.
- Click Yes to confirm.
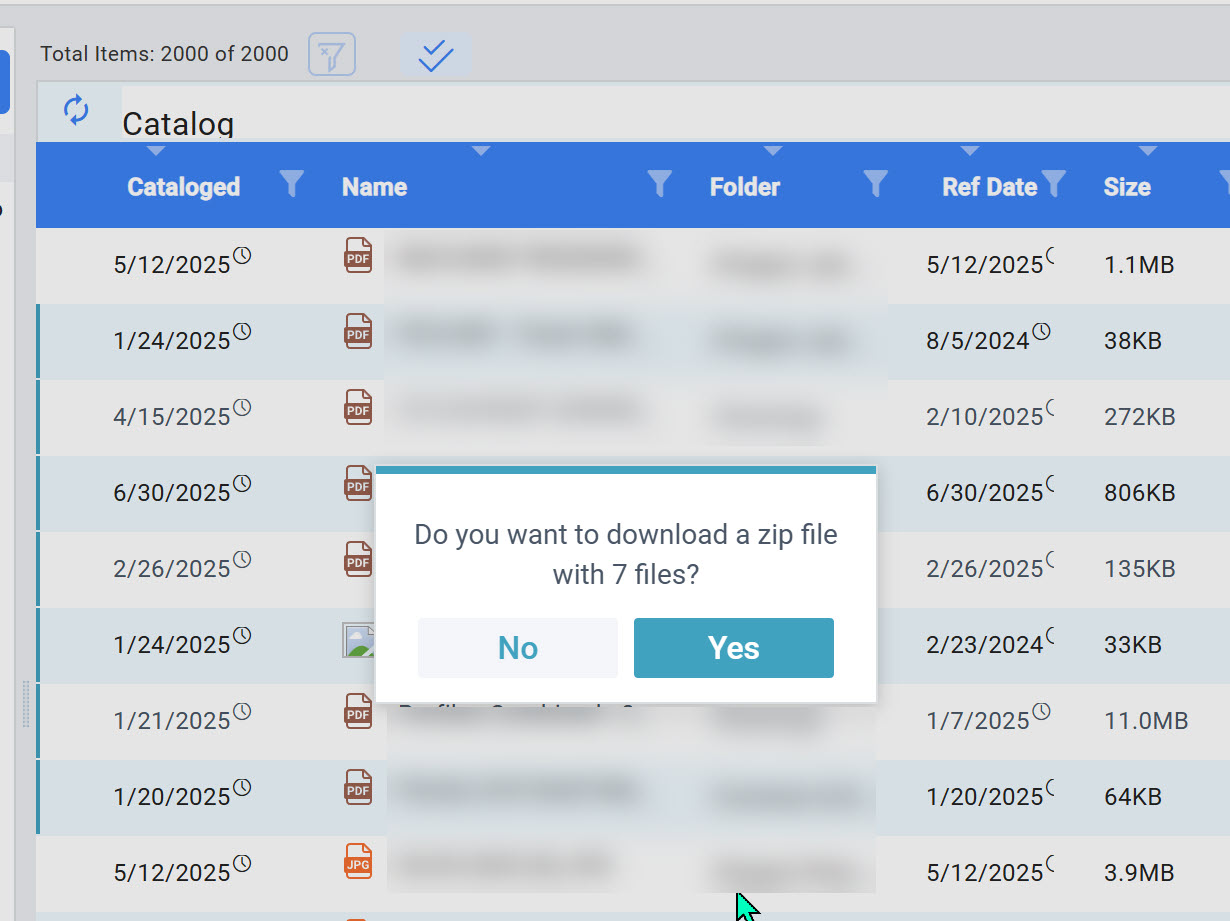
If Spitfire can, it will download your files into a .zip file. If there are too many files, you will see a “Too many files” message. Use the Bulk Export Tool instead.
Using the Bulk Export Tool:
The Bulk Export Tool is designed to export ALL files associated with a project using a series of zip files.
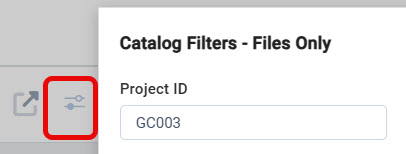
- Start with the Files Only view of the Catalog.
- Filter by Project ID as shown above. No other filters matter, but for speed you can also specify a Date range.
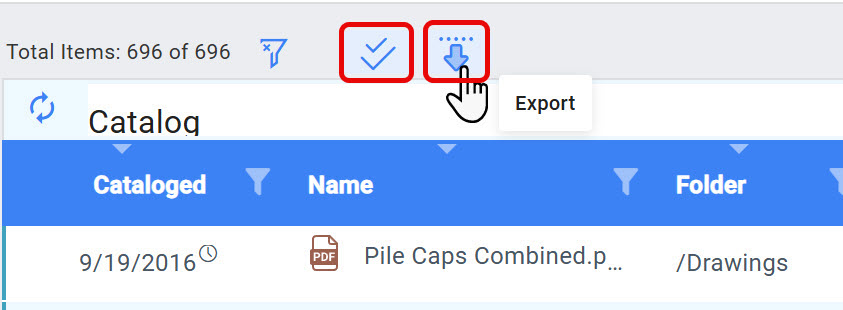
- Click on the Select All icon.
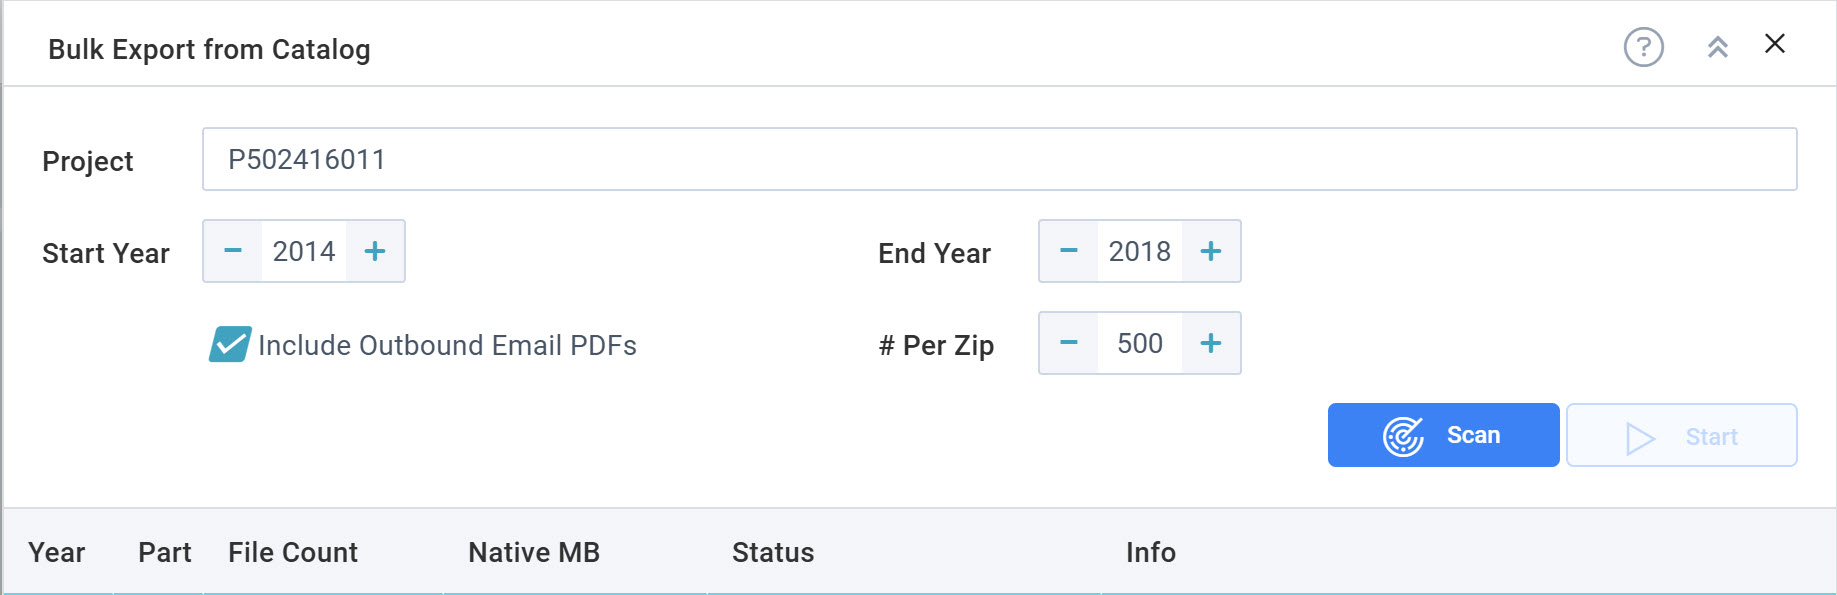
- Click the Export icon.
- The Bulk Export Tool will open, find the Project you specified and attempt to discern a range of years. You can broaden or narrow the range of years but you cannot specify exact dates.

- The “Include Outbound Email PDFs” option increases the number of files by including the small PDFs that were stored to document each and every route via email. This helps document that you notified the route recipient. If you do not need these files, uncheck the box.
- (Optional) Change the # of files per zip but be aware that there is a size limit that you cannot control. We find that around 400 is typically safe.
- When you are ready, click Scan. The grid will fill with a list of zip files that will be generated and downloaded. You will notice that the files are in year order, chunked into the proper size.
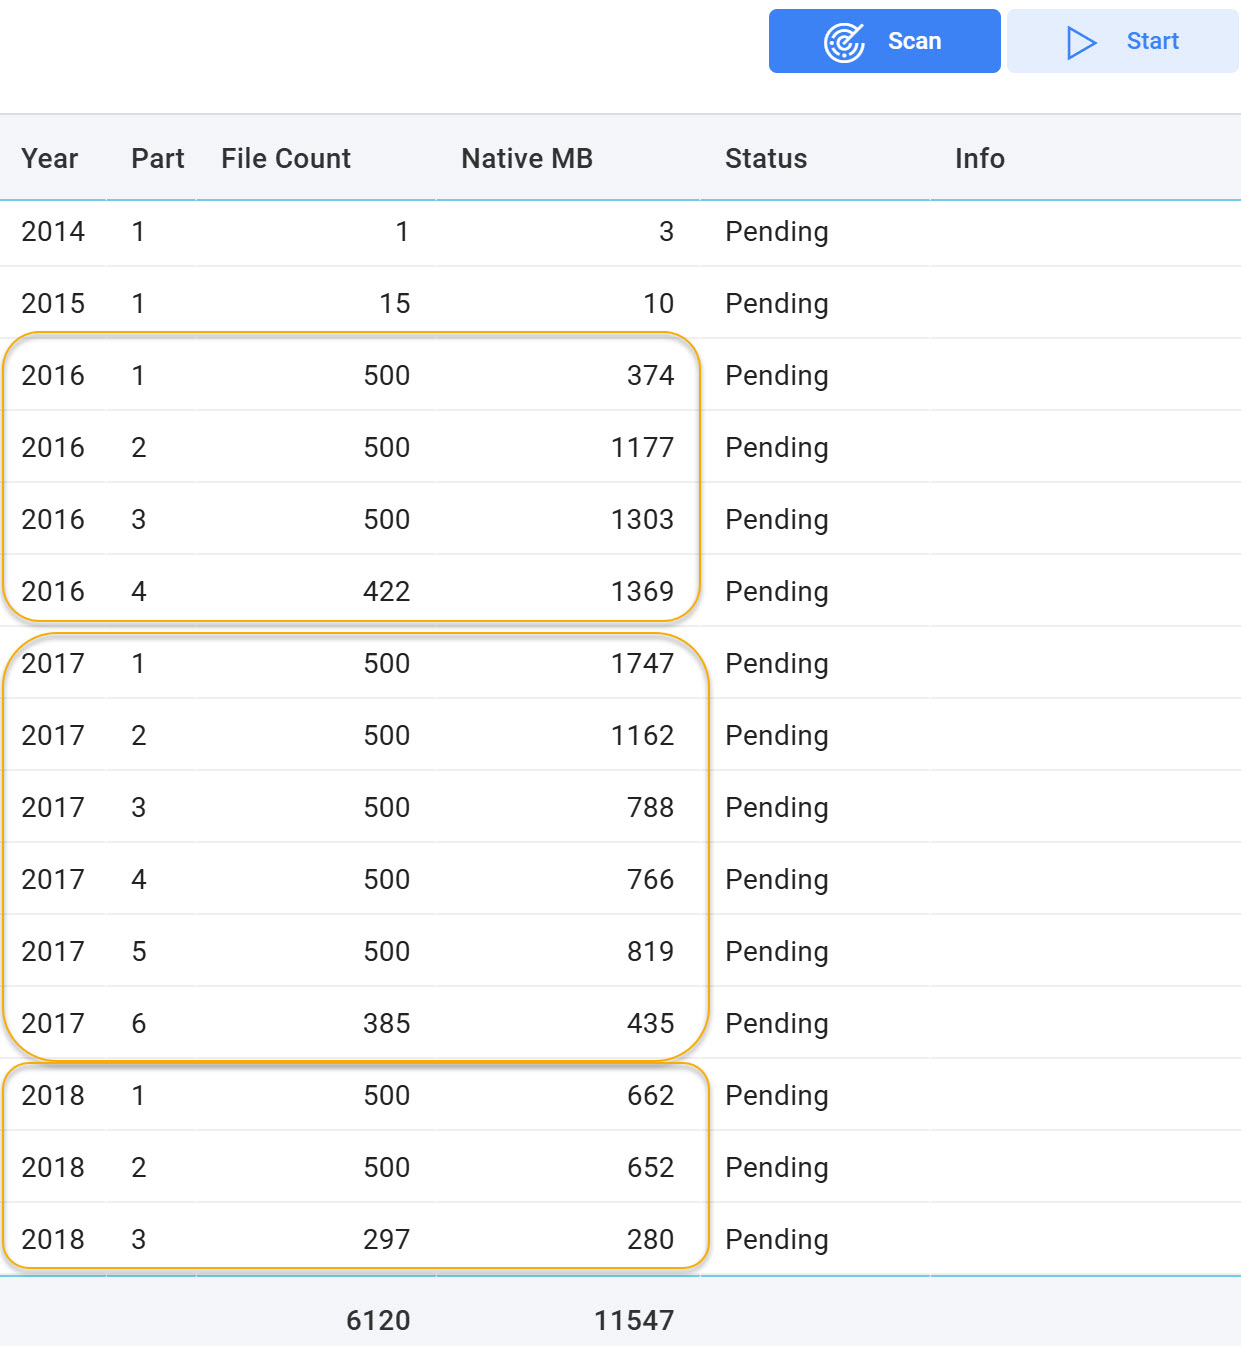
- Click Start to being the actual process. Note that this process will take a long time (possibly hours).
The export process:
When there are more files than will fit in a single zip file, the tool creates a series of zip files, as shown above. The files from that year will be placed into the zip files in date order. For example, file 1 of 4 will have January through (perhaps) March. File 2 of 4 will begin in March and continue.
The bottom of the grid indicates how much space is required. PDF files do not compress much when zipped since they are already compressed. Be sure you have enough local disk space.
When you click Start, the process of building the zip files will begin. You should choose a time when there are very few users on the system.
The grid will indicate progress. It is possible that some files will fail.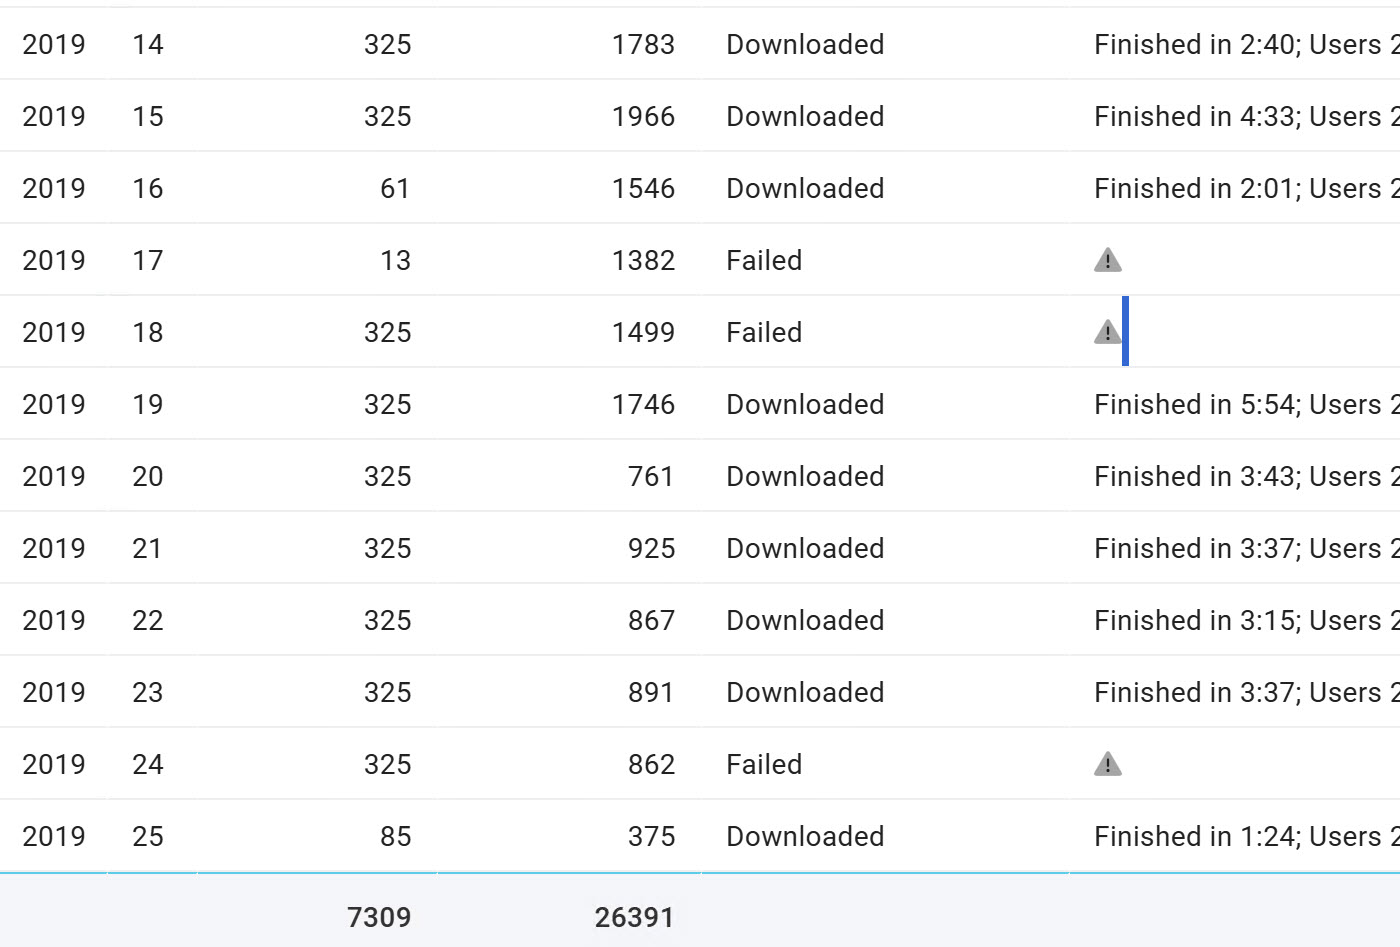
- Take good notes so you can go back for the missed files!
Getting Missed Zip Files:
In the example above, there were 3 pieces missing from 2019.
- Repeat the process to open the Bulk Export Tool.
- Specify the year you need as the starting and ending year.
- Important: You *must* use exactly the same value for “# Per Zip” and the “include outbound email PDFs” options. This is essential so the tool breaks up the zip files in exactly the same way. If you need to change these options, re-download the entire year!
- This time hold the CTRL key when you click Scan and specify “Skip” when prompted.
- In the list that appears, click on the Status column in the row(s) for the pieces you still need and change the status from Skip to Pending.
- Click Start.
KBA-01874; Last updated: August 18, 2025 at 8:57 am