
You can add routees manually, or you can add routees through the Build Routee option.
To add a routee manually:
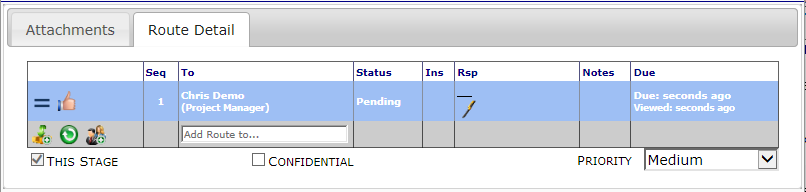
- After creating or opening a document, click the Route Detail tab.
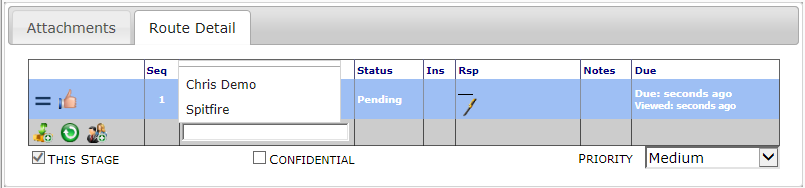
- Insert your cursor in the bottom row on the tab, Spitfire will display the most likely routees (contacts already included on the document, project team members) for you to select. As you type the name of the routee, the selection box will dynamically change and offer contacts to match your entry. Click on your selection when you see it in the selection box.
- (alternate) Click Route Options and select Add a Routee.

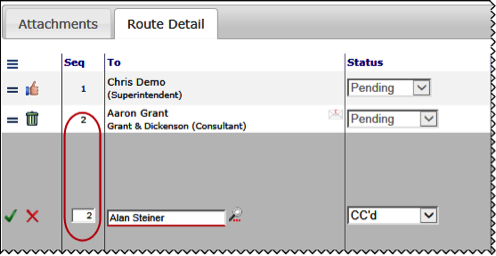
- (optional) At Seq, change the number if necessary.
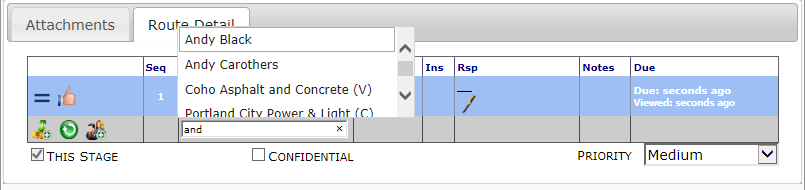
- In To, either enter a name until autocomplete gives you choices or click Lookup to search for a routee.
- (optional) At the Status drop-down list, select the status for this routee. At this point your status choices are CC’d, Destination, Pending, and Pending Any. Commonly you will leave the status as Pending.
- (optional) At Ins, enter a short note or click Edit to open the text editor. You can add instructions or specific notes to the routee.
- (optional) At Notes, click Edit to open the text editor. You may add more specific notes if necessary.
- (optional) At Due, enter either a date in the mm/dd/yy format, or click Calendar to select a date. The Due field indicates the date the routee must act on the document.
- Accept the information.
Note: Follow steps 2-10 to create more routees. To make any of the routees parallel (so they receive the document at the same time), give them the same Seq. number.
- When complete, Save the routing information.