The Add Files Tool is used to upload or scan files into the Spitfire Catalog (or onto a document and thus also the Spitfire Catalog). It is accessed through the icon on a document’s Attachment tab or the File part of a Project Dashboard or Catalog Dashboard.
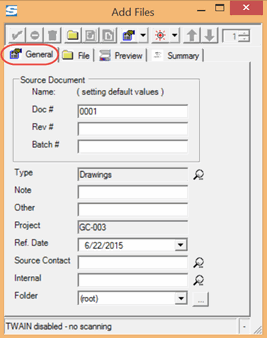
The General tab on the Add Files tool holds information for files.
If you want to add several files that all have the same General tab information:
- Go to the General tab and enter your information
- Go to the File tab and drag-and-drop files or use the browse button to select the files you want.
- Click the checkmark to upload files. All the files will share the same information (Note, Source Contact, Folder, etc.) Note: the Note field shows up on the document’s Attachment tab Note field:
If you want to add several files but the information on each will be different:
- At the File tab, drag-and-drop the first file or use the browse button to select the first file to add.
- Go to the General tab and enter your information for that file.
- Go back to the File tab to get your second file.
- Go again to the General tab to enter your information for the second file.
- Repeat as needed.
- Click the checkmark to upload files. Uploaded files will have individual information.
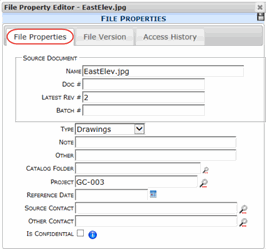
Once a file is uploaded, the General tab information can be edited through File Properties. For example, if you want to change the Note field for a file on the document’s Attachments tab (or add a Note), this is the way to do it.
- Click the File Lock icon to open the Options menu for the file.

- Select Properties. The File Properties fields are the same as the General Tab fields.

- Edit as needed.
- Click to save.
For more information about the Add Files tool and attached files,
see the Focus on Files, Attachments and the Catalog Dashboard guide.


