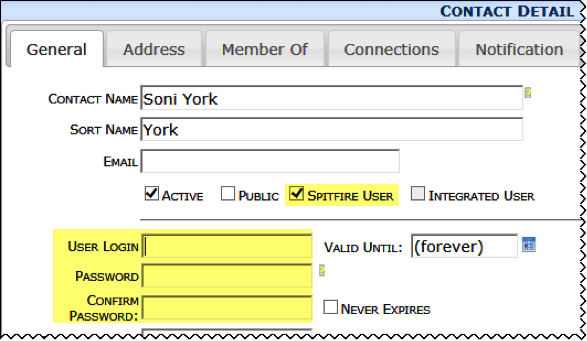
If your site is not integrated, you must enter individual Contacts (your employees, your customers’ employees, your vendors’ employees, and others) manually on the Contacts Dashboard. If your site is integrated with an external accounting system, most of your Contacts can be imported from that system. However you can decide to add individual Contacts manually for those individuals who do not appear in your accounting system. You can also add those individuals who are in your accounting system but were not included in the synch with sfPMS.
To manually add an individual Contact:
- Access the Contacts Dashboard and select Contacts in the upper, left-hand corner.

- In the Contact List area, click Add.
- On the General tab, in Contact Name enter the person’s full name (first and last).
- If this individual associated with a company, click the lookup at Company.

- (optional) If this Contact is to be a Spitfire user, click Spitfire User. The User Login field will be available for entry. Complete the User Login, Password, and Confirm Password fields.

- On the Address tab, decide if the Contact’s address should be the same as the linked company.
- Complete the Salutation and Familiar Name fields.
- On the Member Of tab, assign a role if necessary.
- On the Connections tab, enter the necessary contacting and routing information.
- On the Notifications tab, change the level for certain Doc Types.
- On the Comments tab, enter any free-form text,
- Save the Contact record.
Note: If this person is an employee of your company, enter a unique ID in Employee.
