Note: The AP Invoice Processing workflow requires sfPMS to be integrated with Microsoft Dynamics SL.
- Click AP Attach to Voucher to open Microsoft Dynamics SL AP Voucher and Adjustment Entry.

- Enter your AP Invoice in Microsoft Dynamics SL per your company’s standard operating procedure and save your voucher.
Note: If the VendorID was associated with a scanned image by using either a separator sheet with the Vendor ID, or a VendorID for the Folder, or during a route inquiry, the Vendor ID will auto populate the Vendor ID field in the AP Voucher and Adjustment Entry. - Click Attach to add the scanned image in the Batch Viewer to the displayed AP Voucher.
Note: The AP Voucher must be saved ad gave a Reference Number in order for the Attach button be active. - In Microsoft Dynamics SL, click Finish and select either Document or Batch per your normal AP Voucher protocols.
- Repeat steps 2-4 for each scanned AP Invoice file in the Batch Viewer.
- Close the Batch Viewer when finished.
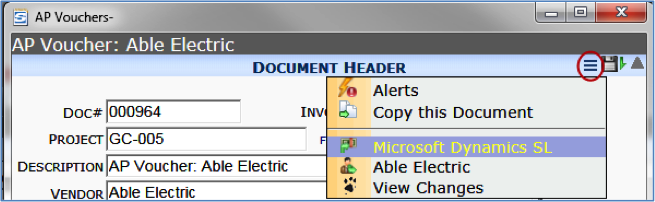
- (If you routed the Spitfire AP Voucher document to others for approval) When that Spitfire AP Voucher documents is returned to you, save the document then select Microsoft Dynamics SL where you can take appropriate action. For example, if approved, release the voucher for payments.