
Request:
When in the sfDash version of Spitfire, the Add Files tool made it easy for me to change the folder into which I wanted to place the attached file. The Chrome-based Add Files tool lists the current folder, but does not let me change this folder. Could you make it so that I could change folders in the Chrome-based Add Files tool?
Response:
Yes. In V2020, the Folder name in the Add Files tool is now clickable, allowing you to select a different folder.
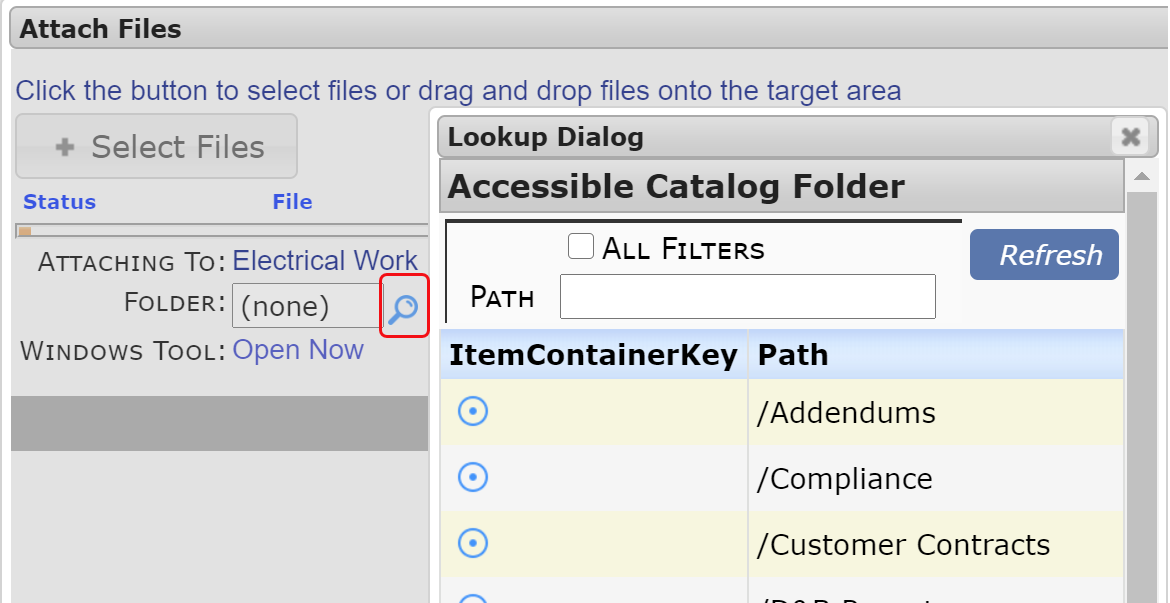
When you want to attach a file that is not in your Spitfire Catalog, you can either drag and drop the file from your workstation, or you can click the Add Files icon. If you click the icon, the Add Files tool will appear as a pop-up window.
If there is a default folder for your file, it will be listed. Otherwise the folder will say (none).
Note: you should change folders before you select files or drag and drop files onto the Add Files window. Those files will be placed in the folder indicated.
To change the folder:
- Click on the folder name or (none) or click on the pen icon that appears next to it.

- Either look up the folder that you want or start typing the folder name until you can select it from the list of matching folders.
 or
or
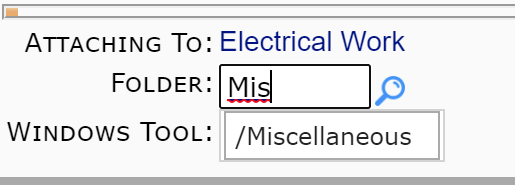
- Once the correct folder is listed, either click the Select Files button to browse for your file(s), or drag and drop your file(s) onto the window.
- When you have finished attaching files to your document, close the Add Files tool.
Keywords: pick a folder, select a new folder