Procedure:
- Decide what email address you want to use for your site and set it up with your email provider.
- Go to ICTool and select the SMTP tab to set up outbound email.
- In the SMTP Server field, enter smtp-mail.outlook.com or smtp.office365.com (check your tenant).
- In the Port field, enter 587.
- Check the Use SMTP with TLS… checkbox.
- Enter the email address in both the SMTP User and Mail From field (Office365 typically uses the email address as the account id)
- For classic authentication, specify a long strong password
- For oAuth authentication, specify oAUTH (case sensitive)

- Go to the sfATC tab to set up inbound email (see also KBA-01263).
- In the POP Server field, enter outlook.office365.com.
- In the Port field, enter 995.
- In the SSL field, select Yes.

- In the POP/User and Password fields, specify the same values you provided for SMTP in step 6 above.
- Review the email address on the SEND ROUTE tab (not shown) – this email address should either match the Office 365 account name or be listed as an alias for the account.
- Go to the Finish tab and click the Publish Configuration button.
Types of Office 365 Accounts
Since Spitfire sfPMS does not use Office applications, you can assign a “Business Essentials” or E1 type license.
We recommend that you use a mailbox-only account rather than an AD Integrated account – that way if the account were to be compromised it would not allow access to your network, just the single mailbox. This means that you may have an AD account without a mailbox for use by IT and Spitfire Support to connect to the IIS server, and a separate email only account.
Do not enable multi-factor authentication (MFA) for this account, or setup an “app password” and provide this to ICTool.
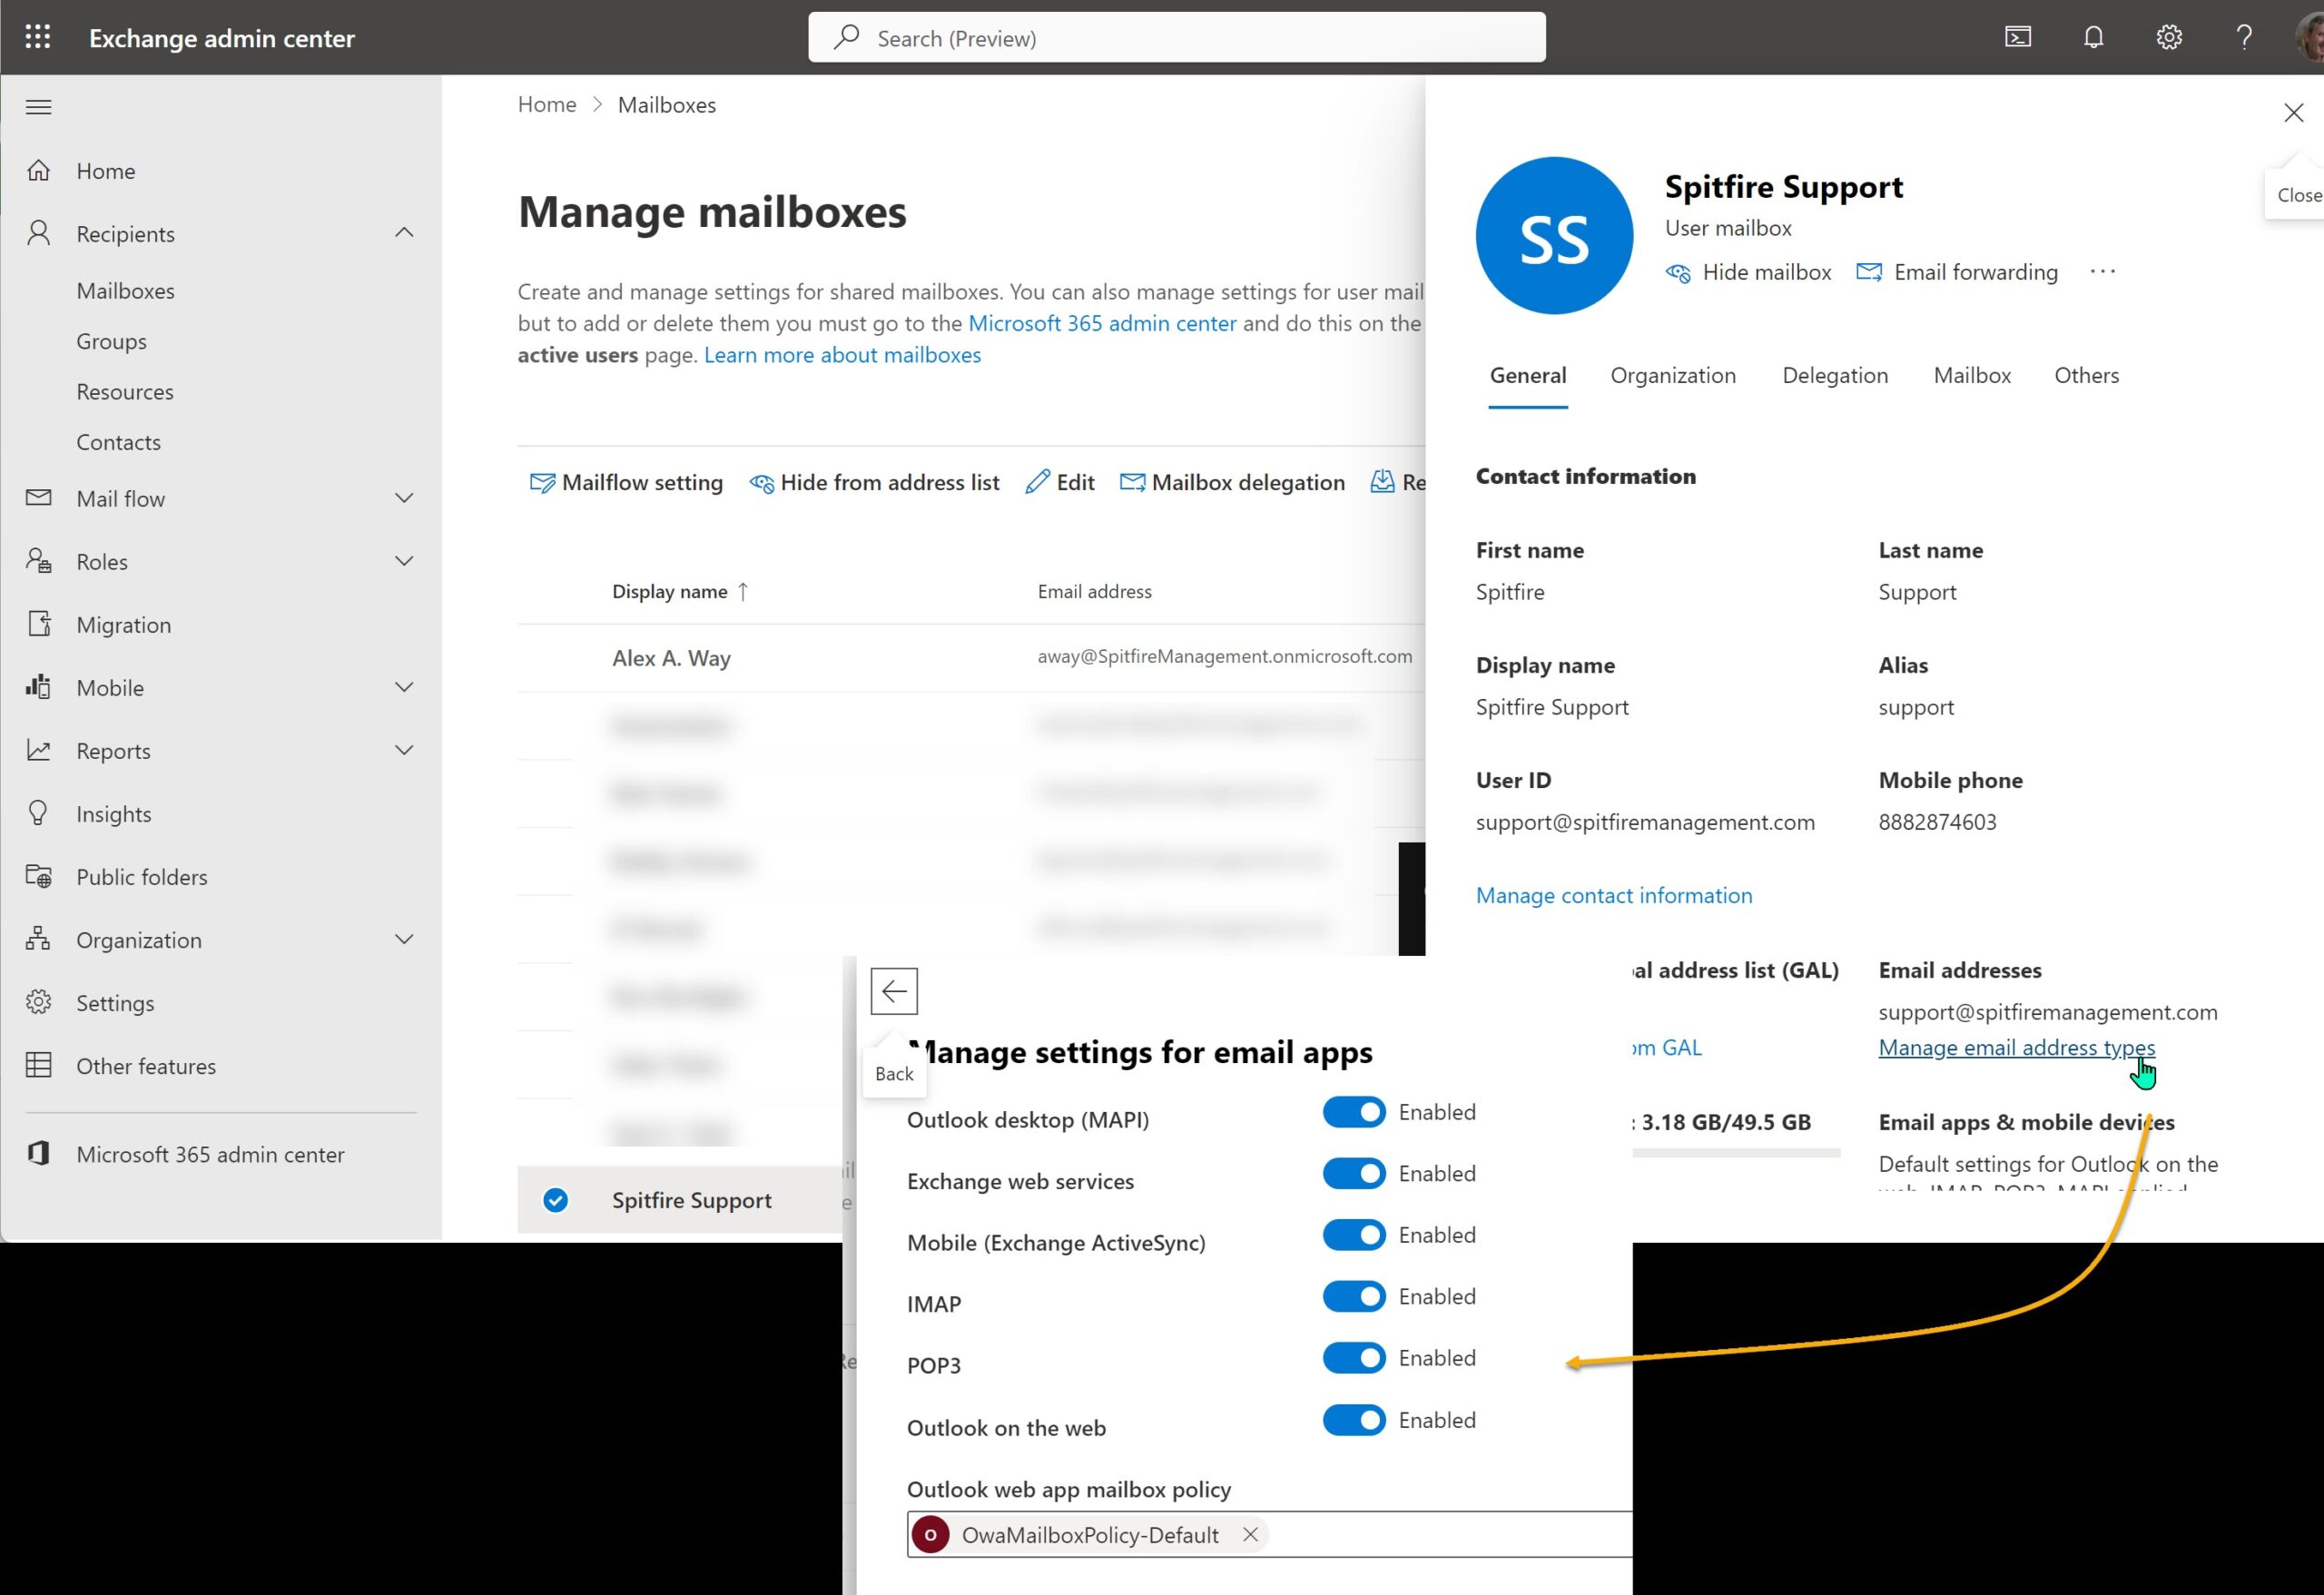
Enable SMTP and POP “apps” for this mailbox
In https://admin.microsoft.com, access the user mailbox
- Change to the Mail “tab”
- Click Manage email apps
- Be sure that POP and Authenticated SMTP are checked.
Enable SMTP AUTH for specific mailboxes
Some Office 365 accounts may see the following failure when trying to send email:
Error: 535 5.7.139 Authentication unsuccessful, SmtpClientAuthentication is disabled for the Tenant.
The per-mailbox setting to enable (or disable) SMTP AUTH is available in the Microsoft 365 admin center or Exchange Online PowerShell.
Please see the “Enable SMTP AUTH” section of
https://docs.microsoft.com/en-us/exchange/clients-and-mobile-in-exchange-online/authenticated-client-smtp-submission
Using oAuth for Authentication
Since June 2022, Microsoft has said they would be phasing out “legacy authentication” for POP and SMTP beginning in October 2022, but we have reports from sites using APP passwords that APP passwords are already being removed and once removed it becomes impossible to use legacy authentication for POPS (meanwhile SMTPS will work with the actual account password…probably until October).
Beginning in build 8222, Version 2021 supports oAuth for authentication for POPS and SMTPS
On an Azure Admin Workstation
Perform these steps from a workstation with a browser authenticated to Azure as a tenant administrator
- If you do not know your Azure tenant id (which is a GUID), see https://docs.microsoft.com/en-us/azure/active-directory/fundamentals/active-directory-how-to-find-tenant
- Copy the URL below and replace {tenant-id} (including the { and }) with your Azure tenant-id
https://login.microsoftonline.com/{tenant}/v2.0/adminconsent?client_id=04ff9146-3c10-4f62-b098-1f9ca5d97ff9&scope=SMTP.Send POP.AccessAsUser.All&redirect_uri=https://r.spitfirepm.com/spitfire_logo.png - Visit the completed URL in a browser that is authenticated to Azure as a tenant administrator
- Complete oAUTH authorization.
- You will end at a “site can’t be reached” page (because your admin workstation is not running the service — this is OKAY)
Manual steps are discussed in https://docs.microsoft.com/en-us/azure/active-directory/manage-apps/grant-admin-consent
Note: if you have something like Zscaler Cloud Security, be sure to authorize the Spitfire identity!
On the IIS or ATC Server
Perform these steps on the Windows Server that has sfATC and ICTool
- Set the password on the “ATC | Read Mail” and SMTP tabs in ICTool to oAUTH (in exactly the indicated mixed-case).
- Verify that XTS is enabled. XTS is required in order to manage oAuth connection tokens.
- on the XTS tab, Intro sub tab, be sure Enabled is checked
- if you have just enabled: Publish the site to add in the XTS engine.
- On the XTS Setup sub tab,
- Do NOT check Enable ERP (unless you have the appropriate license
- Scroll down, click Edit XTS Config. Three rows should appear. Click save. Close
- on the XTS tab, Intro sub tab, be sure Enabled is checked
- Republish the site from ICTool
- Verify the DecryptKey is available:
- DIAG Page, DV Scalar Resolver, xtsCFG in the drop down, DecryptKey in the Primary text box, then click Check DV
- if the result is []
- In SQL DROP PROCEDURE dbo.pv_xtsCfgInfo
- In ICTool, (TOOLS | Apply | sfPMS Package and browse for PMDPack_1 in InstallBase/PackageData
- repeat step A
- STOP the sfATC Service
- Get the POP Tool (See KBA-01478)
- Run the tool and use the first toolbar button to find and open your ATC configuration for your site… an authentication page should open in your browser.
- Critically Important: be certain that this browser is authenticated to https://www.office.com/ using the exact same identity as specified as the SMTP sender. if you are not certain, visit Office.com and LOGOUT. Then authenticate again with the intended identity.
- Complete oAuth authentication. If you get a message that administrator review is required, see the “Azure Admin” steps above.
- Back in the POP Tool, the status should say “connected”
- On the Client Tools menu, export the refresh token
- Open C:\Spitfire\RefreshTokenExport.txt and copy the entire content to your clipboard
- Log into your site in Chrome
- Open the Chrome Inspector and change to the CONSOLE tab (clear if necessary)
- Paste the clipboard and hit enter to run
- You should get a 204 result. This has saved the an encrypted refresh token to your database (dbo.xtsConfig)
- START the sfATC service
KBA-01693; Last updated: July 11, 2024 at 8:52 am