Question:
We are set up for cloud storage integration and I want to sync some files with my cloud drive. Assuming all setup is complete, what do I do?
Answer:
- On your project, open the Project Setup document and go to the Project tab to see if a cloud storage provider has been selected. If not, select the cloud storage provider from the Cloud Storage drop-down.

- Save your Project Setup document and close the window.
- Attach files that you want to send to the cloud onto a cloud-enabled document.
- Select a cloud-enabled status for your document (for example, Published) and save.
- Sit back and wait for the files to be automatically synced with your cloud drive.
More Control Over Cloud Sync
When you open a document that has files to be (or that have been) synced, a new column appears on the Attachments tab. An icon indicates that the file is to be, or has been, synced.
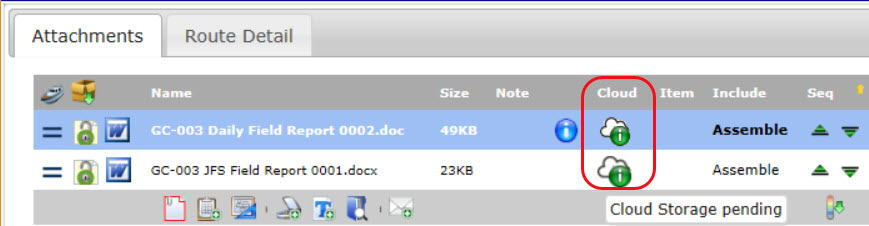
The icon offers a drop-down menu when you click on it.

- By default, if a synced file gets changed in either location, the file in the other location is changed also. If you want Inbound Updates only–meaning that changes in the cloud come to sfPMS, but changes in sfPMS do not go to the cloud, click the Get/Send Updates option. (It is a toggle.) When you save, the icon will change and the drop-down menu will offer the option to “send updates too” if you toggle the option back.
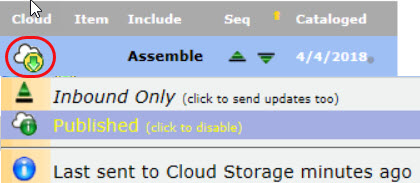
- By default, all files on a document’s Attachment tab are sent to the cloud, regardless of their “Include” status . If you’d like to not sync a file with the cloud drive, click the Published option to disable it. (It is a toggle.) When you save, the icon will change and the drop-down menu will offer the option to enable cloud sync again.

KBA-01727; Last updated: April 25, 2018 at 12:23 pm
Keywords: syncing files, synching files