Overview:
Spitfire V2021+ allows bi-directional templates that import Items to also import Incl/Excl items. Some modifications need to be made to the Item import template, but in the end the user can open the same Excel file to enter what will go into the Items tab and into the Incl/Excl tab. [See KBA-01797 if you still need to first convert Via Excel templates to bi-directional templates.]
The Bi-Directional Template for Incl/Excl:
Once you have a template with a ToSpitfire tab to import and export Items, you can modify that same template.
- Download the template from your template library and save it on your computer while you make changes to it.
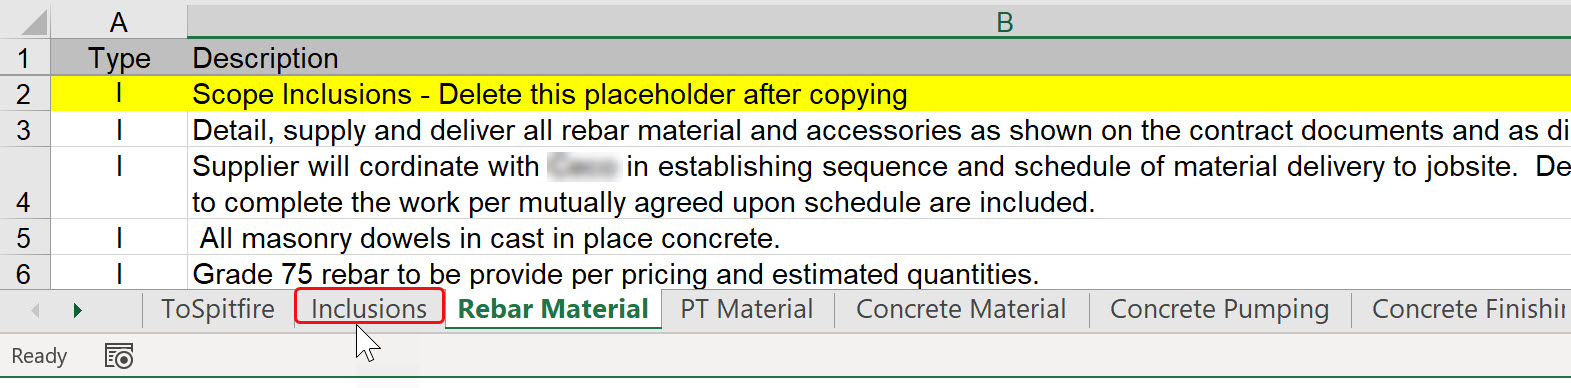
- Add a tab called Inclusions (or something similar) and a tab called RawInclusion. Note that RawInclusion must have exactly this name and that it is singular.
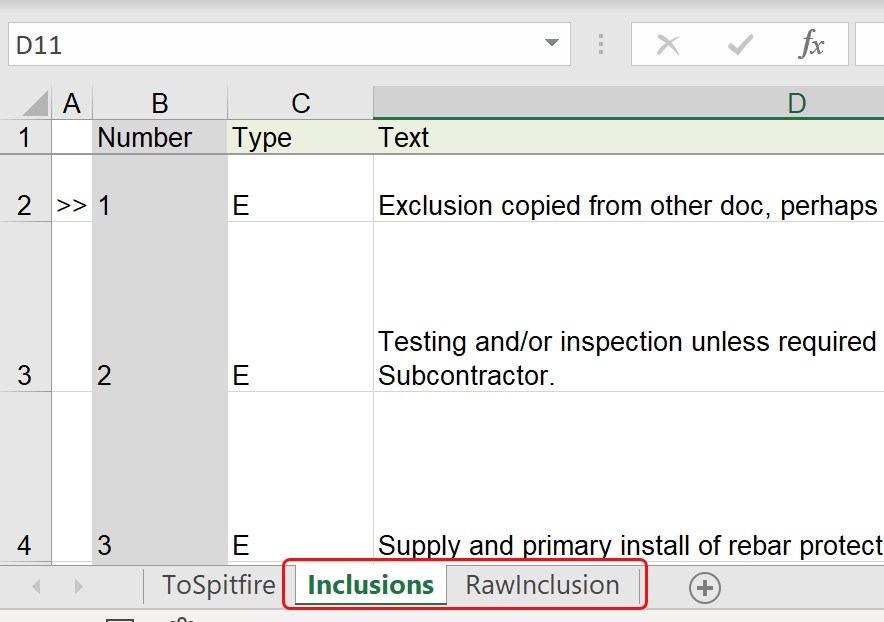
- You can hide the RawInclusion tab. This tab will be used during the import/export process, but users do not need to see it.
- The remaining instructions will be done on the Inclusions tab. Go to column A on the Inclusions tab.
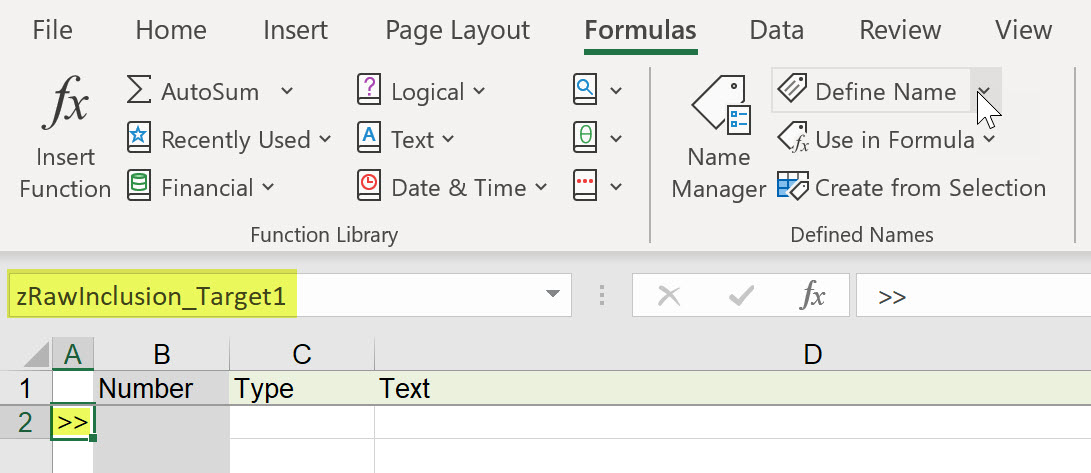
- Use the Define Name option to define A2 as zRawInclusion_Target1. Optionally, enter >> or some other character in A2.
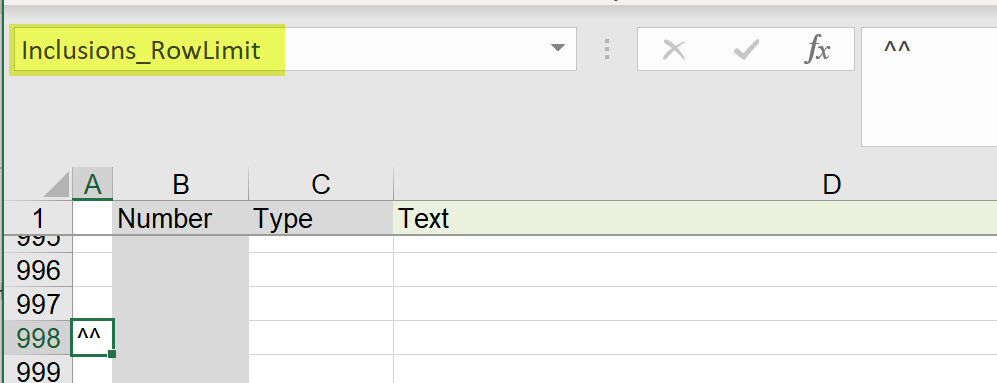
- Think about how many rows you might need for all your Incl/Excl types, then double that amount and go down that many rows in column A.
- Click in the cell in column A and use the Define Name option to Define An as Inclusions_RowLimit. (If your tab is named something other than Inclusions, use your name instead.) Optionally, enter ^^ or some other character in that cell.
- Make column A as narrow as you’d like, or hidden.
- Use the Define Name option to define A2 as zRawInclusion_Target1. Optionally, enter >> or some other character in A2.
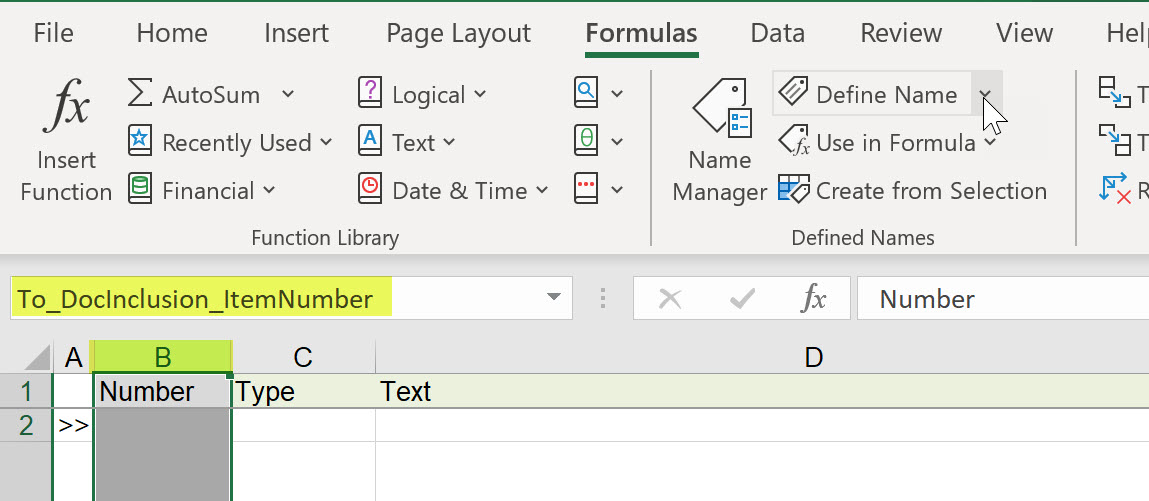
- Select all of column B and use the Define Name option to define column B as To_DocInclusion_ItemNumber. In B1, label this column Number (or something similar). Shade (or optionally, protect) this column because users should not enter any data in column B.
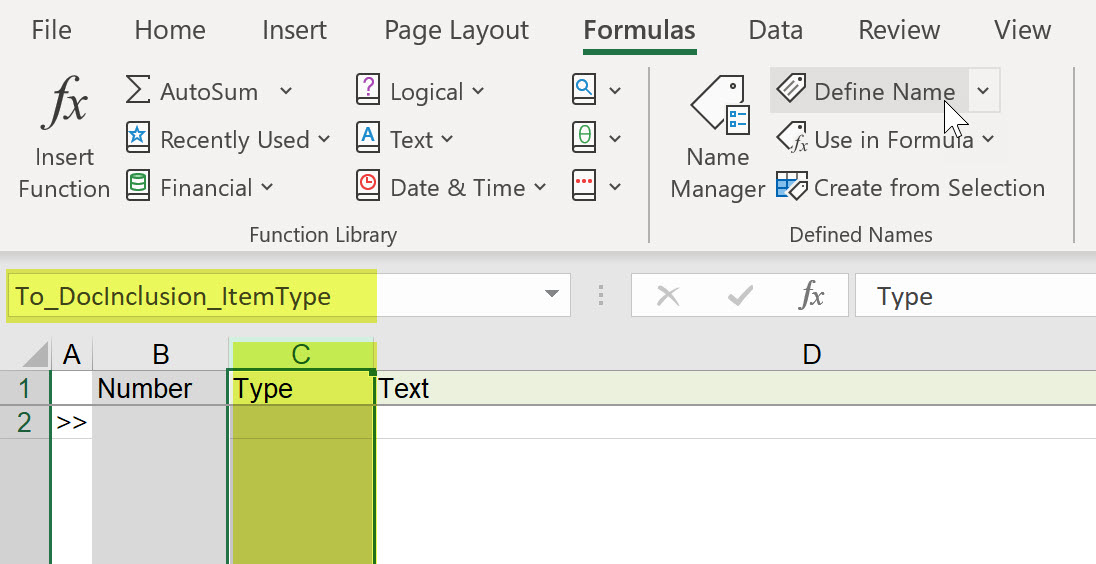
- Select all of column C and use the Define Name option to define column C as To_DocInclusion_ItemType. In C1, label this column Type (or Type I,E,A,O or anything else you’d like).
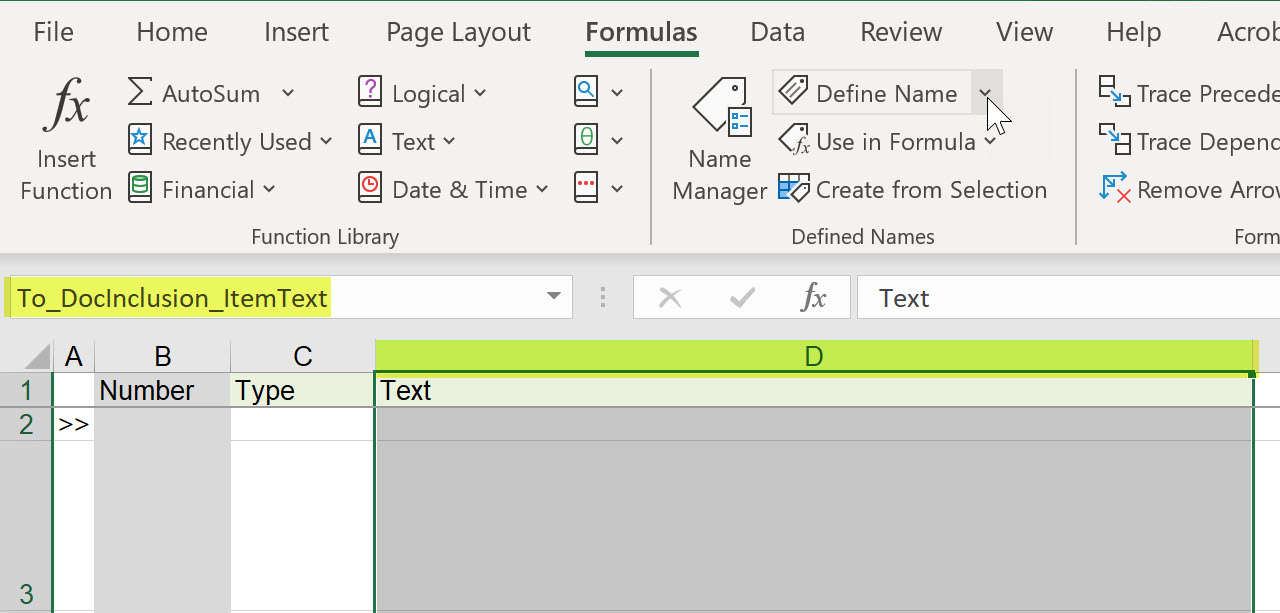
- Select all of column D and use the Define Name option to define column D as To_DocInclusion_ItemText. In D1, label this column Text (or Description or anything else you’d like).
- Go back to B2 and enter the following formula: =@IF(ISBLANK(@zRawInclusion_DocInclusion_ItemNumber),IF(OR( ISBLANK(C2), ISBLANK(D2)),””,”new”),zRawInclusion_DocInclusion_ItemNumber)

- Save and close your template.
- Upload it to your template library as Type = Attachment or Attachment (Auto). Since this template still includes the ToSpitfire tab needed for Items (on the Items tab), this new template can replace your existing bi-directional template for Commitment Items.
Additional Information:
Other Defined Name Columns:
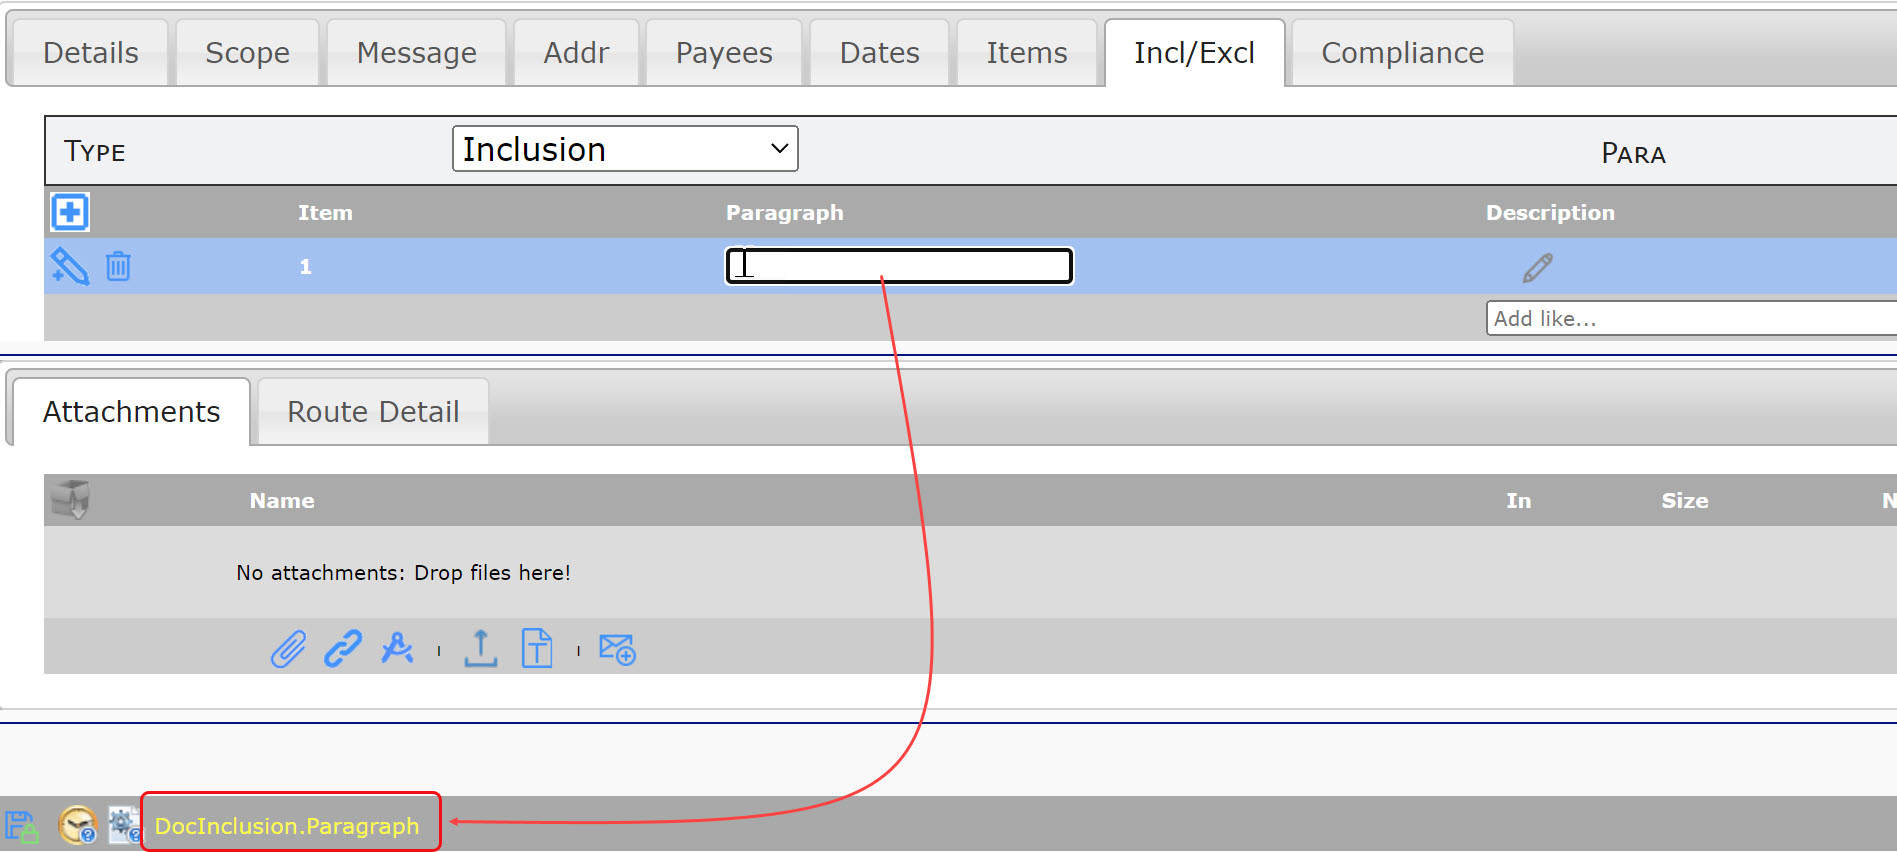
Your Inclusions tab (on the bi-directional template) can include other columns that will flow into your Commitment Incl/Excl tab. For example, if you want to also include Paragraph info, add another column in your template and give it the Defined Name of To_DocInclusion_Paragraph (because that is the name of the field). You can add any number of fields as long as you include Defined Names for each.
The Type Codes:
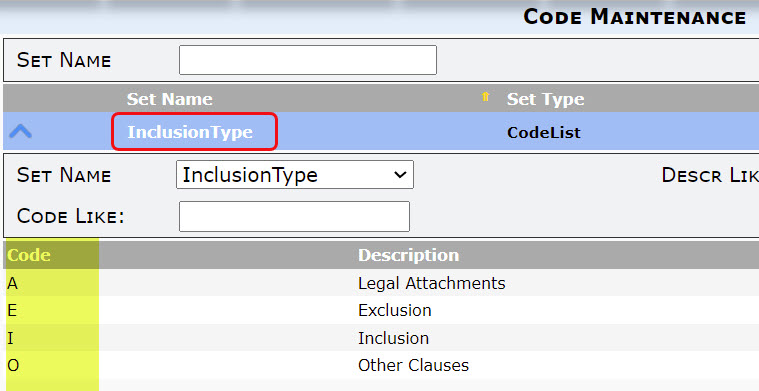
The Incl/Excl tab on the Commitment doc supports four types of items. Your site may have re-labeled some of the types; however, the code letters likely remain A,E,I,O. Check your InclusionType codeset (in the Code Maintenance tool) to see the code letters for your descriptions. You can include this information somewhere on your template to help users know which letter to enter in the Type column.
Information to Copy From:
If there are set lists of Inclusions, Exclusions, etc. that users can copy from, you can include this information in your template, either by entering the lists in other columns on the Inclusions tab (to the right of the Defined Name columns) or by including the lists on additional worksheets in the Excel workbook. Users will then find it easy to copy and paste from the set lists into columns C and D on the Inclusions tab.
Examples:

What the Template Can and Cannot Do:
- Users can type or copy in the information for each row in the Incl/Excl tab and that information will get imported into the Commitment document.
- Users can export existing items in the Incl/Excl tab and make edits to that information or add additional rows at the end of the existing rows.
- Users cannot change the Type of existing rows (for example from I to E). If you fear that users will attempt to do so, consider adding Data Validation for the Type column. You could also use a Conditional Format to shade the Type fields that are exported from Spitfire to make it more obvious that they should not be changed.
- Users cannot delete rows that exist on the Commitment document by deleting them in the Excel file. Rows must be deleted in Spitfire.
KBA-01820; Last updated: March 30, 2022 at 16:02 pm