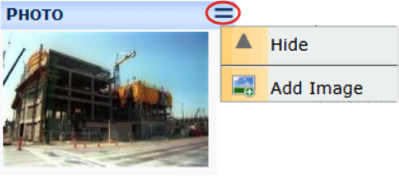
If you click Add Image from the Photo Part Menu of a Project Dashboard, any uploaded file is defaulted into the Site Photo folder for the project and used as the most recent photo appearing on the Photo part.
To upload a photo:
- From the Photo area, click Part Menu | Add Image.
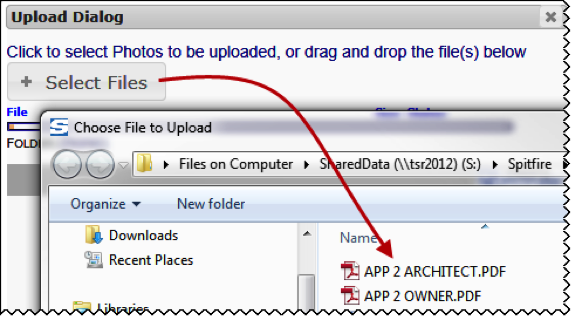
- From the Upload Dialog box:
– click Select Files and choose the file
OR
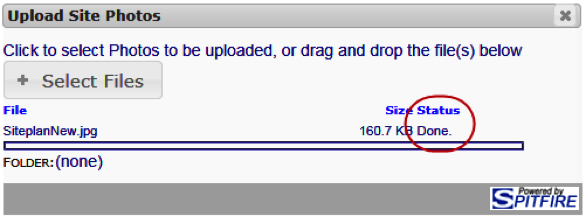
– drag and drop the files into the area next to the button. - When the Status is Done, close the Upload Dialog box.